
How to Waterproof Suede Boots Correctly and Keep Them Safe
This post contains affiliate links. As an Amazon Associate, we earn from qualifying purchases.
Waterproofing suede boots requires a three-step sequence: clean them first, apply a water-based DWR (Durable Water Repellency) product like Nikwax Nubuck & Suede Proof, and let them air dry for 24 hours. Skipping the cleaning step is the most common mistake, dirt masks the DWR, causing the leather to absorb water instead of repelling it.
That clean-first rule isn’t just about aesthetics. Dirt and conventional cleaners leave a water-attractive film on the suede fibers. When you spray a proofer over that film, the treatment can’t bond properly to the leather. The boots might look protected, but the first drizzle proves they aren’t.
What follows is the mechanics behind that failure, the exact products that work, and the manufacturer warnings most guides gloss over. By the end, you’ll know why a horsehair brush is more important than a fancy spray and how to avoid voiding a warranty before you even start.
Key Takeaways
- Clean first, always. Dirt and residue from improper cleaners create a hydrophilic layer that prevents waterproofing products from bonding to the suede fibers. Use a dedicated suede cleaner or a mild, pH-neutral solution.
- Use a water-based, breathable proofer. Look for products specifically labeled for nubuck and suede, like Nikwax Nubuck & Suede Proof. These create a flexible DWR coating on individual fibers without clogging pores, maintaining breathability.
- Air dry only, for a full day. Never use heat from a hairdryer or place boots near a radiator. Heat can bake stains into the suede, cause permanent discoloration from the proofer, and damage the material’s finish.
- Test on a hidden area first. Waterproofing products, especially on light-colored suede, can cause permanent darkening. Always apply a small amount to an inconspicuous spot and let it dry completely to check the color. Brushing is essential.** A suede brush or a horsehair brush is essential before cleaning to lift dirt and after drying to restore the velvety nap. It’s the simplest form of maintenance that preserves texture.
Why Waterproofing Suede is a Different Game
Suede isn’t just rough leather. It’s made from the inner split of the hide, sanded to raise a soft nap. This structure is what gives suede its feel, but it also makes it a magnet for water and stains. The good news is that nap is also the key to protecting it.
Durable Water Repellency (DWR) is a treatment that coats individual fibers of material, causing water to bead up and roll off. On suede, a proper DWR treatment sits on the fibers without matting the nap down, allowing moisture vapor from your foot to escape, maintaining breathability.
The goal isn’t to create an impermeable plastic shell. That would trap sweat and ruin the boot from the inside. The goal is to make the suede shed water while still letting it breathe. Most failures happen because the process gets rushed or the wrong chemistry is used. Conventional waxes or silicone sprays gum up the fibers, matting the nap and trapping moisture. They might keep a few drops out, but your feet will pay the price in clammy discomfort.
Tools and Materials You’ll Need
Gathering the right tools before you start prevents mid-process panic and poor substitutions. This isn’t a long list, but each item has a specific job.
- Suede Brush or Horsehair Brush: The stiff bristles are for lifting dried mud and reviving the nap after drying. A horsehair brush is gentler for regular dusting.
- Soft Cloths or Sponges: You’ll need a few. One for applying cleaner, one for rinsing, and a dry one for blotting. Microfiber cloths are ideal as they don’t leave lint.
- Dedicated Suede Cleaner: This is critical. Avoid all-purpose soaps or saddle soap. Use a product like Nikwax Footwear Cleaning Gel or a brand-specific suede cleaner. As Nikwax states, conventional cleaners leave a water-attractive residue that masks DWR.
- Water-Based Suede/Nubuck Proofer: This is your main event. Nikwax Nubuck & Suede Proof is the benchmark here. It’s a water-based, non-flammable, PFC-free spray or sponge-on treatment.
- Newspaper or Towel: To protect your work surface and to place the wet boots on for drying.
- A Well-Ventilated Space: You’ll be spraying liquids and waiting 24 hours for drying. A garage, covered porch, or room with an open window is perfect.
The Three-Step Sequence for Waterproofing Suede
This is the core of the process. Think of it as a ritual: clean, condition (if needed), proof. You cannot skip steps or change the order without compromising the result.
Step 1: The Deep Clean You Can’t Skip
Your boots must be impeccably clean. Any dirt, salt, or old product residue will block the waterproofing agent.
Start by removing the laces. Brush the entire boot vigorously with your suede brush to dislodge all loose dirt and restore the nap direction. For stains or general grime, apply your dedicated suede cleaner with a damp cloth or sponge, following the product’s instructions. Dr. Martens recommends a gentle scrub with a damp sponge, then wiping with clean water to remove excess cleaner.
Common mistake: Using a generic leather cleaner or soap. These often contain conditioners or surfactants that leave a film. That film attracts water, ensuring your new waterproofing treatment fails on first contact.
Rinse lightly with a cloth dampened with clean water, don’t soak the boots. Blot excess moisture with a dry towel. The suede should be damp, not dripping wet.
Step 2: Applying the Waterproofing Treatment
Now the boots are clean, damp, and ready. Shake your proofer canister well. Holding it about 6 inches from the boot, apply an even, light coat over the entire surface. Pay extra attention to seams and stitching, which are natural entry points for water. LOWA’s military boot guide specifically warns against spraying too much in one spot, as it can cause permanent discolouration.
A single, even coat is better than a heavy, dripping one. The product needs to penetrate the damp fibers, not pool on the surface. If your product is a sponge-on type, apply it evenly by hand.
Step 3: The Patient Dry
This is where willpower matters. Place the boots on a towel in a well-ventilated area at room temperature. Walk away for 24 hours. Do not use a hairdryer, space heater, or place them in direct sunlight.
Heat dries the surface too fast, trapping moisture deeper in the leather and potentially causing the proofer to cure unevenly or stiffen the suede. That faint chemical smell is normal and will dissipate as the boots air out. After a full day, touch a hidden spot like the inside of the tongue. If it feels cool or damp, give it more time.
Once bone-dry, give them a final brush with the suede brush to re-fluff the nap. The texture should feel revived, not stiff or sticky.
Choosing the Right Waterproofing Product
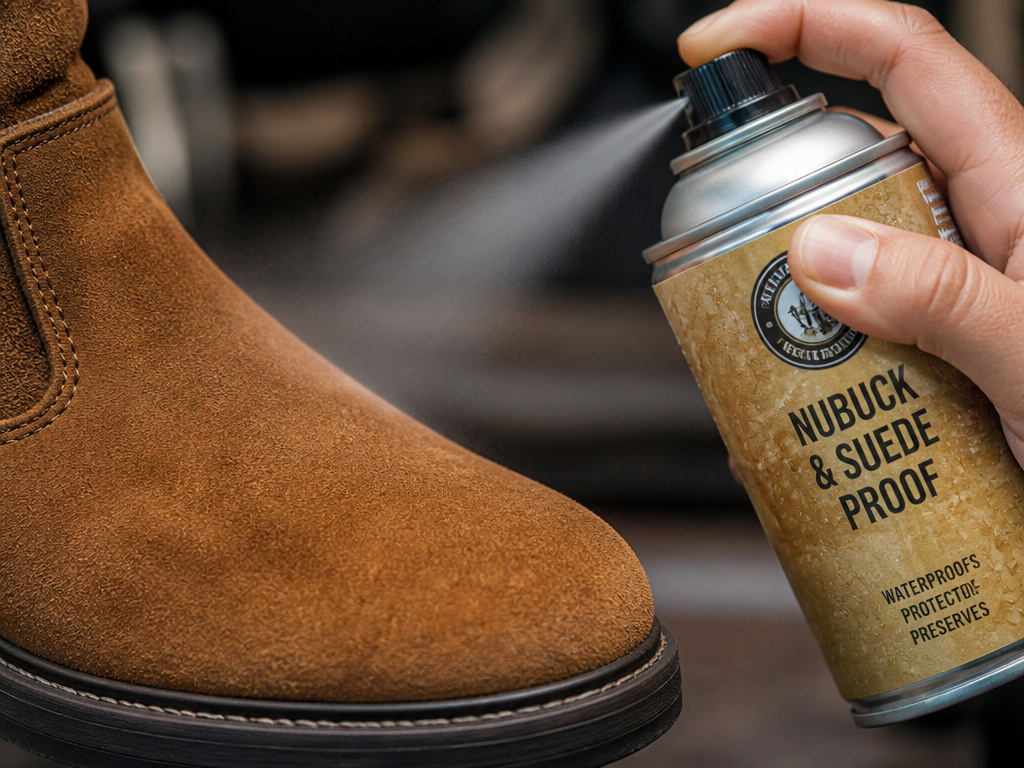 Not all proofers are created equal. The wrong choice can leave your suede sticky, discolored, or non-breathable.
| Product Type | Best For | Key Consideration |
|---|---|---|
| Water-Based Spray (e.g., Nikwax) | All suede/nubuck, especially breathable waterproof boots (Gore-Tex) | Maintains breathability and texture. Non-flammable, easy to apply to damp boots. |
| Silicone/Aerosol Spray | Not recommended for suede | Often leaves a sticky residue, clogs pores, reduces breathability, and can attract more dirt. |
| Wax-Based Paste (e.g., Sno-Seal) | Extreme, non-breathable waterproofing for heavy work boots | Will darken suede significantly and mat the nap. Use only if breathability is not a concern. |
The clear choice for most suede boots is a dedicated, water-based formula. Nikwax Nubuck & Suede Proof is engineered for this. It’s designed to maintain the texture, unlike waxes, which flatten it. For a specific brand like Brandecosse, their own Proof & Protect spray is formulated for their leathers and is a safe bet.
What Most People Get Wrong (And How to Avoid It)
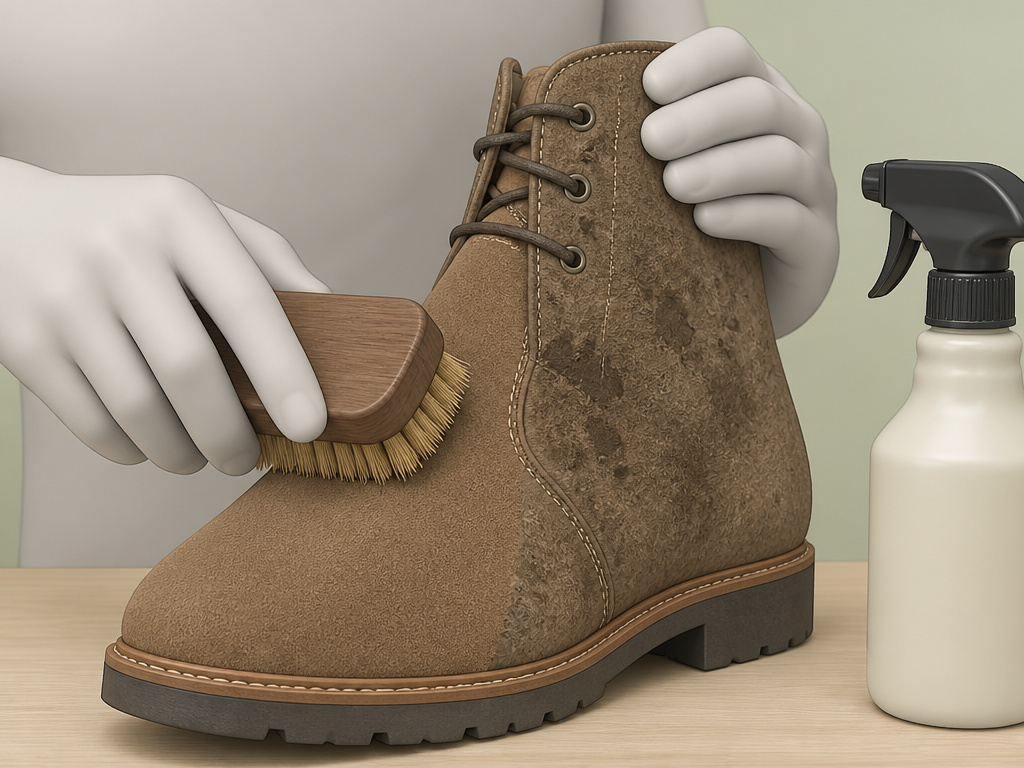 Through practical guides and detailed research, I’ve seen the same errors repeated. Let’s be clear about this: avoiding these pitfalls is what separates a successful treatment from a ruined pair of boots.
- Proofing Dirty Boots: This is the number one error. Dirt is hydrophilic, it loves water. If you seal it in with a proofer, you’ve just waterproofed a layer of mud. The water will soak right through.
- Using Heat to Dry: Impatience costs you here. Heat can cause the suede to shrink, crack, or become brittle. It also sets stains and can bake the proofer into an uneven, discolored patch.
- Skipping the Spot Test: On light grey, tan, or colored suede, always test the proofer on the inside of the tongue or another hidden area. Some darkening is normal, but you need to know how much before committing the whole boot.
- Neglecting the Brush: Brushing isn’t optional. Before cleaning, it lifts dirt. After drying, it reactivates the DWR by re-aligning the treated fibers and restoring the water-shedding nap. A stiff brush is a core tool, not an accessory.
How to Care for Waterproofed Suede Boots
Waterproofing isn’t a permanent force field. The DWR coating wears down with friction, dirt, and time. Maintenance is straightforward.
Regularly brush off dust and dirt after wearing them. This prevents abrasive particles from grinding away the DWR coating. If the boots get very wet, let them air dry at room temperature away from direct heat, then brush them. The DWR may need to be refreshed after heavy use or every few months, depending on wear. You’ll know it’s time when water stops beading and starts soaking in.
For a deeper clean on waterproofed boots, you must use a cleaner compatible with DWR, like the Nikwax Footwear Cleaning Gel. Using a harsh detergent will strip the protection away, forcing you to restart the entire proofing process.
Frequently Asked Questions
Can you use mink oil or beeswax on suede boots?
No. Mink oil, beeswax, or any oil-based conditioner will permanently darken suede and mat the nap into a flat, greasy mess. These products are for full-grain leather, not the delicate, porous surface of suede. They clog the fibers and destroy breathability.
How often should you re-waterproof suede boots?
There’s no fixed schedule. It depends on use. Check that water forms distinct beads on the surface.” Sprinkle a few drops of water on the boot. If the water beads up and rolls off, the DWR is still working. If it soaks in and darkens the leather within a minute, it’s time to clean and reapply the proofer. For boots worn weekly in wet conditions, this might be every 2-3 months.
Does waterproofing suede change its color?
It can, especially on lighter shades. Most water-based proofers will cause a slight, often uniform darkening when wet. This usually lightens back slightly as they dry. However, some discoloration can be permanent. This is why the spot test is non-negotiable. Brands like Nikwax explicitly warn that light-colored suede may darken.
Can you waterproof suede boots that are already wet?
No. You should never apply a waterproofer to sopping wet boots. The product will dilute and fail to bond. However, many water-based products like Nikwax are designed to be applied to damp boots, boots that have been cleaned and lightly rinsed, then blotted. The key distinction is controlled, even dampness versus saturation.
Will waterproofing make my suede boots stiff?
Proper water-based DWR treatment should not stiffen the suede. It dries to a flexible coating on the individual fibers. Products that cause stiffness are usually wax-based or have left a heavy surface residue. If your boots feel stiff after treatment, you likely used too much product or the wrong type.
Before You Go
The single most important action you can take is to clean your boots thoroughly before you even think about proofing them. It’s the step every rushed tutorial glosses over, and it’s the reason most DIY waterproofing fails. Dirt is the enemy of DWR.
Invest in a Kiwi suede brush and a dedicated cleaner. They cost less than a ruined pair of boots. When you choose a proofer, pick a water-based formula designed for nubuck and suede, it’s the only type that protects without suffocating the leather.
Finally, respect the dry time. Twenty-four hours feels long, but it’s what allows the treatment to cure properly into a flexible, breathable shield. Rushing it with heat is how you end up with splotchy, stiff boots. Good suede care is a slow, deliberate process. The payoff is boots that handle the weather and last for years, developing a character that only comes from proper use and correct care.
