
How to Clean and Condition Leather Boots: A Complete Guide
This post contains affiliate links. As an Amazon Associate, we earn from qualifying purchases.
To clean and condition leather boots, you need to separate the two tasks completely and follow a sequence: brush off dry dirt, wipe with a damp cloth, apply a leather-specific cleaner, let dry fully, then apply a thin coat of conditioner. The mistake that cracks boots isn’t neglect, it’s sealing dirt into the leather with polish or using the wrong cleaner for the leather type, which the R.M.Williams guide confirms can happen within a few months of regular wear.
Most guides treat cleaning and conditioning as one job. They’re not. Cleaning removes the stuff that grinds the leather fibers down. Conditioning replaces the oils that keep those fibers flexible. Do them out of order, or skip one, and you’re working against the material. The schedule isn’t guesswork either. OEMs like R.M.Williams and Chippewa publish exact maintenance frequencies based on how you wear your boots.
What follows is the physical why behind each step, the specific schedules from bootmakers, and the edge cases where the standard advice will ruin your gear. By the end, you’ll know exactly what to do, how often, and what to ignore.
Key Takeaways
- Clean first, always. Conditioning over dirt traps abrasive particles against the leather, which act like sandpaper with every step.
- Match the cleaner to the leather. Using saddle soap on a modern pigmented or burnished finish will strip its topcoat and dry it out. Conditioning frequency is essential.** For general wear, condition every 2-3 months. For outdoor work boots, R.M.Williams says every 4 weeks.
- Let the boots dry completely between cleaning and conditioning. Trapped moisture under conditioner can cause mildew.
- Polishing is cosmetic, not curative. A shine hides scuffs but does nothing to replenish lost oils. Never polish unconditioned leather.
The 5-Step Cleaning and Conditioning Routine
This isn’t a suggestion. It’s the order that prevents the two most common failures: embedded grit and clogged pores. Swap steps two and four, and you might as well not bother.
Start by removing the laces and any removable footbeds. This gives you clear access to the tongue and the interior, where salt and sweat build up. Use a soft-bristled brush, horsehair or dedicated boot brush, to knock off all dry, loose dirt. Pay attention to the welt where the sole meets the upper and any deep lug patterns.
For a general cleaning, use a damp cloth with plain water. For heavier soil, use a product like Danner’s Suede & Leather foam cleaner or Red Wing’s Waterproof Leather Cleaner. Apply it to the cloth first, then work it into the leather in small circles.
Next, take a clean cloth, dampen it with lukewarm water, and wring it out so it’s barely damp. Wipe the entire boot down to remove cleaner residue and any remaining grime. Never let cleaner dry on the surface. Now, the most skipped step: let the boots dry. Not in the sun, not by a heater. Room temperature, with good airflow. Stuffing them with newspaper or using a dedicated boot dryer works. This takes a few hours. You’ll know they’re ready when the leather feels cool and dry to the touch, not cold or damp.
Conditioning is next. Your finger is the best tool. Apply a small dab of conditioner, like Saphir Médaille d’Or Pommadier Cream or Collonil 1909 Leather Cream, to a discrete spot first, like the underside of the tongue. This tests for color change. If it’s good, use your fingers to massage a thin, even layer over the entire boot, including the stitching and the backstay. Leather absorbs conditioner through warmth and friction.
Let it sit. Twenty minutes is the minimum; R.M.Williams recommends a full hour for their conditioner to penetrate. Then, buff off any excess with a clean, dry cloth. If the cloth comes away clean, you used the right amount. If it’s greasy, you used too much. A little goes a long way.
TL;DR: Brush, clean, rinse, dry completely, condition thin, buff off excess. That sequence is the whole game.
Your Boots Are Not All the Same
A work boot and a dress boot are both leather. That’s where the similarity ends. Their tanning, finishing, and intended abuse demand different cleaners, different conditioners, and different schedules. Using the wrong one doesn’t just look off, it physically alters the leather.
Pigmented finished leather is your most common type. It’s what you find on Red Wing Iron Rangers, most Danner boots, and R.M.Williams yearling leather. It has a painted-on topcoat for uniform color and some water resistance. Here, a gentle, pH-balanced leather cleaner is mandatory. Harsh soaps or saddle soap will cloud and strip that topcoat over time.
Where this goes sideways: Using saddle soap on a pigmented dress boot. The alkaline soap degrades the finish, leaving a permanent, cloudy patch by the third clean. The leather underneath then dries out faster.
Greasy or oily leather, like R.M.Williams’ Greasy Kip or many Chippewa work boots, is saturated with oils and waxes from tanning. It’s meant to look rugged and develop a blotchy patina. For these, you often skip cleaner altogether unless they’re truly caked in mud. A damp cloth wipe-down, followed by a conditioner made for oily leathers (like a pure lanolin or beeswax-based product), is the move. Never use a colored polish on these, it sits on top of the oils and creates a weird, painted look.
Then there are the edge cases. Burnished leathers, where color is hand-rubbed onto an unfinished crust, should only ever see a barely damp cloth. R.M.Williams is explicit: no conditioner, no cleaner, no polish on burnished leathers, or you destroy the hand-rubbed finish. And Leatt’s moto boot manual flatly forbids any cleaner or detergent, tap water only, because chemicals degrade the boot’s protective layers.
| Leather Type | Cleaning Agent | Conditioner Type | Critical Don’t |
|---|---|---|---|
| Pigmented Finished | pH-balanced leather cleaner (e.g., Danner Suede & Leather foam) | Cream conditioner (e.g., Collonil 1909) | Use saddle soap or abrasive brushes |
| Greasy/Oily | Damp cloth; cleaner only for heavy mud | Oil/wax-based conditioner (e.g., pure lanolin) | Apply colored polish or cream |
| Burnished | Barely damp cloth only | None | Use any product—cleaner, conditioner, or polish |
| Technical (Moto) | Tap water only | As per OEM only | Use any commercial cleaner or detergent |
Why Timing and Frequency Actually Matter
You don’t change your car’s oil when it “feels wrong.” You follow a mileage interval. Boots are the same. The idea that you condition “when they look dry” is a recipe for cracked leather. By the time it looks dry, the upper fibers have already started to lose their plasticity.
R.M.Williams breaks it down by use, not by guesswork: * Outdoor work wear: Condition every 4 weeks. This is for boots seeing daily mud, rain, and physical abrasion. * Dress and office wear: Condition every 8 weeks. Even in a controlled environment, foot perspiration and indoor heating dry leather out. * Casual to light wear: Condition every 3 months. This is the baseline for most people.
Chippewa recommends polishing every 4-6 weeks for boots in regular use. Note they separate polishing from conditioning, the polish is for the shine, the conditioner is for the hide. The two serve different masters.
Let me share what I’ve learned. The common wisdom is to reach for saddle soap for any cleaning job. I treated a delicate lambskin jacket that way once. The soap’s alkaline base stripped away far more than dirt, leaving the leather stiff and thirsty. It needed a much gentler, pH-neutral cleaner to recover. That jacket taught me that “leather” isn’t one thing. Its finish dictates the chemistry you can safely use.
Here’s the thing. These schedules exist because leather loses its natural oils through evaporation and friction. Conditioning is replenishment. If you wait for visual cues, you’re months late. Set a calendar reminder.
The Tools and Products You Actually Need
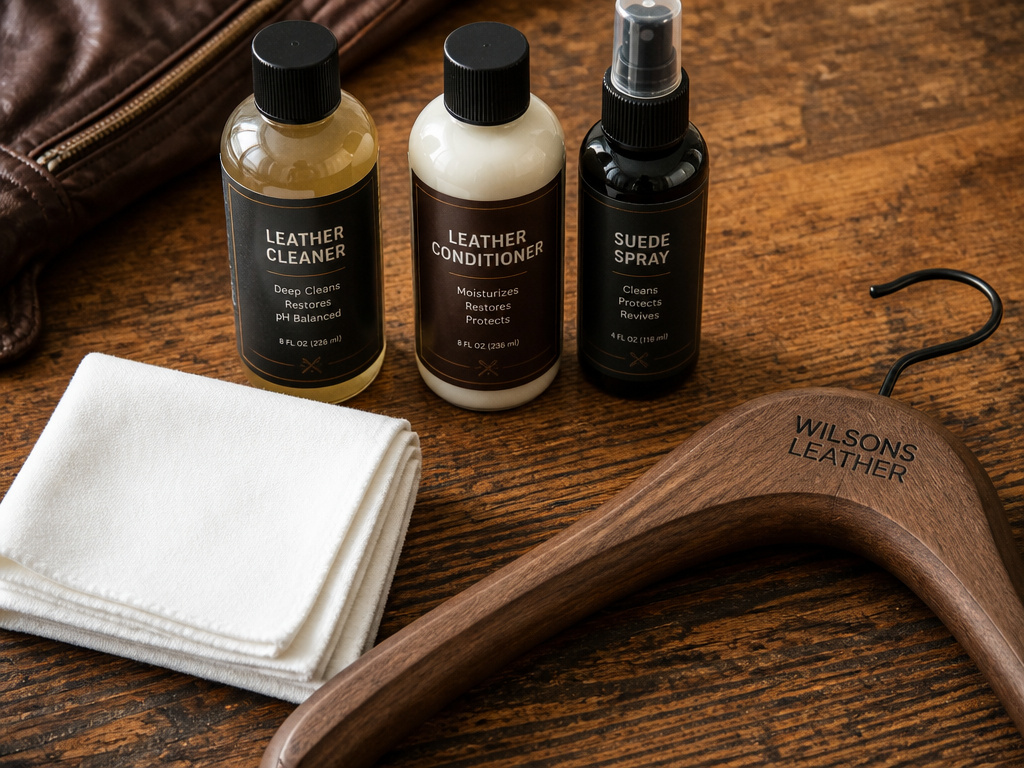 You can spend a fortune on specialty gear. You need about four things. The goal is to put the product on the leather, not collect a drawer full of applicators.
- Brushes: Two are enough. A stiff horsehair brush for knocking off dried mud and dirt. A softer buffing brush for applying polish or buffing after conditioning.
- Cloths: Microfiber or soft cotton. Keep them clean. Designate one for cleaning (it will get dirty) and one for applying conditioner and buffing.
- Cleaner: Don’t overthink it. For 90% of boots, a dedicated leather cleaner like the ones from Danner or Red Wing is perfect. For simple dust, a damp cloth is all you need.
- Conditioner: This is your most important product. For general use, a cream like Saphir Médaille d’Or Pommadier Cream is my default. For rugged, oily boots, a wax-based conditioner like Huberd’s Shoe Grease works. For a simple, no-fuss option, Collonil 1909 Leather Cream is excellent.
Avoid “all-in-one” clean-and-condition products. They are compromises that do neither job well. Cleaning requires moisture; conditioning requires a dry surface. A combined product tries to do both on a damp boot, which is fundamentally flawed.
What Polishing Does (And What It Doesn’t)
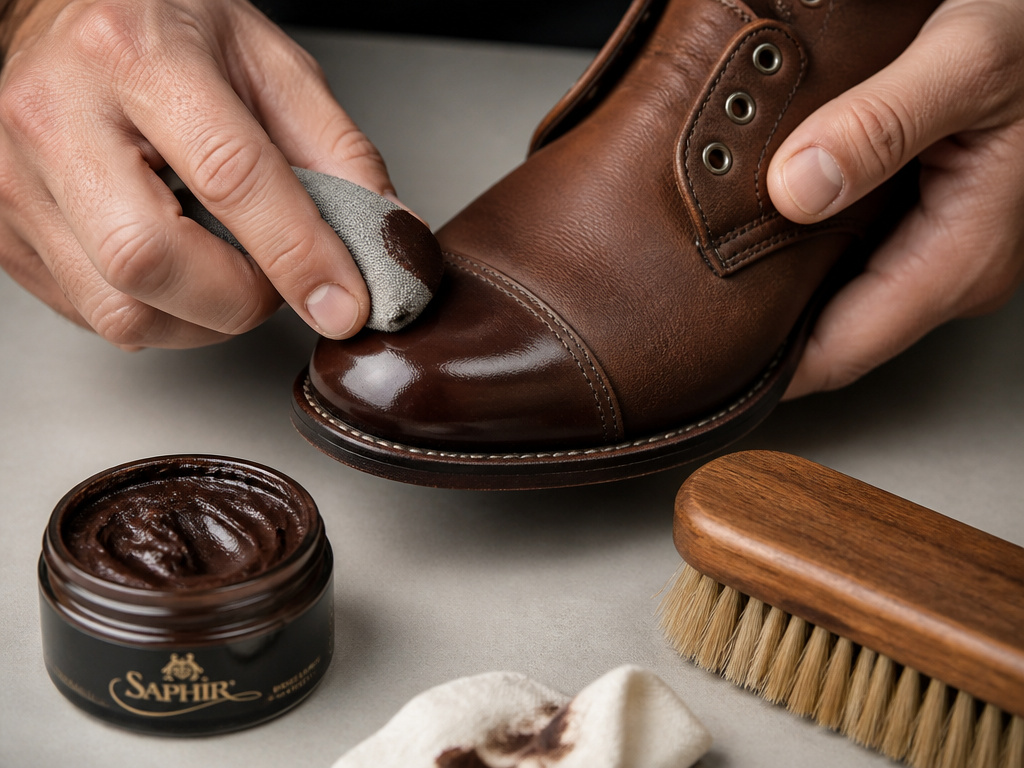 Polishing and conditioning are constantly confused. Let’s be clear about this. Conditioning feeds the leather. Polishing dresses the surface. One is health, the other is cosmetics.
Polish, whether a wax like Kiwi Parade Gloss or a cream, contains pigments and waxes. It fills minor scuffs and builds a shine. It does not penetrate to replace oils. Applying polish to dry, unconditioned leather is like putting makeup on chapped skin. It looks okay for a day, then it cakes and cracks.
The right order is always: clean, condition, then polish (if you want a shine). After conditioning and buffing, apply a thin layer of polish with a separate applicator cloth. Let it haze over, then buff with your soft brush. For a high-shine “mirror” finish on dress shoes, you’d use a wax polish and a technique with water and a cloth, but that’s a stylistic choice for calfskin, not a maintenance step for your work boots.
I won’t recommend a high-gloss shine for everyday boots. It’s a fragile finish that cracks with flexing and looks out of place on a boot that’s meant to be used. A healthy, conditioned leather with a soft luster from buffing is the real goal.
Frequently Asked Questions
Can I use mink oil to condition my boots?
You can, but know what you’re getting. Mink oil is a heavy, greasy conditioner. It’s great for waterproofing and softening very dry, thick work leather. It will darken the leather significantly and can stay greasy to the touch for days. For dress boots or lighter leathers, a lighter cream conditioner is a better choice.
How do I clean salt stains off leather boots?
Salt is corrosive. As soon as you can, wipe the boots down with a cloth dampened with a 50/50 mix of white vinegar and water. The mild acidity neutralizes the salt. Follow with a plain water rinse on your cloth, then dry and condition as normal. Don’t let salt sit.
Is it okay to use a hair dryer or heater to dry my boots faster?
No. Never. Direct heat, like from a hair dryer, radiator, or sunny window, bakes the leather. It causes it to shrink, stiffen, and crack. It can also delaminate the sole. Always air-dry at room temperature. Stuffing with newspaper speeds the process by absorbing internal moisture.
How often should I replace my leather boots?
There’s no set mileage. Inspect them. Look for deep cracks in the leather that don’t improve with conditioning, separation of the sole from the upper, or worn-through soles. For safety-specific boots like motocross gear, Leatt mandates replacement every three years regardless of visible wear, as the protective materials degrade.
Can I condition my boots too much?
Yes. Over-conditioning saturates the fibers and can clog the leather’s pores, preventing it from breathing. This can lead to a spongy feel, accelerated breakdown of the fibers, and mildew growth inside. Stick to the manufacturer’s schedule, every 2-3 months for most boots is ample.
Before You Go
One rule cuts through all the complexity: never condition dirty boots. If you remember nothing else, remember that. The grit you can’t see will grind the leather from the inside once you seal it in with oil.
Your first step this week shouldn’t be buying a new product. It should be pulling out your most-worn pair, brushing them off, and checking the calendar. When were they last conditioned? If it’s been more than three months, block out twenty minutes. Clean them with a damp cloth, let them dry overnight, and work in a thin coat of conditioner with your fingers. That single act does more than any fancy polish ever will.
Everything here assumes your boots are worth keeping. If they’re cheap, corrected-grain leather, no amount of conditioning will change their fate. But for a pair made from full-grain or quality oil-tanned leather, this routine is what turns a purchase into a companion that lasts for years. The patina you earn is the proof.
