
How to Clean Leather Car Seats Using Common Household Items
This post contains affiliate links. As an Amazon Associate, we earn from qualifying purchases.
This post contains affiliate links. As an Amazon Associate, we earn from qualifying purchases.
To clean leather car seats, use a soft, damp microfiber cloth and a solution of mild soap and water. The goal is to lift surface dirt, not saturate the hide. Every major manufacturer. Audi, Ford, Mercedes-Benz, Honda, Nissan, states this exact, simple method in their official service documents.
Those documents, however, include critical warnings most generic guides skip. Household cleaners, solvents, alcohol, and unknown “leather” products can permanently damage the protective coating and even compromise safety systems like seat-mounted airbags. The leather will tell you what it needs if you know how to listen.
Let’s be clear about one thing. Your car’s leather is a heavily coated, highly engineered material designed to resist sun, sweat, and abrasion, which differs from your sofa’s leather. This guide walks through the universally approved cleaning steps, then dives into the specific warnings, edge cases, and product choices the manuals only hint at.
Key Takeaways
- Every major carmaker’s official manual recommends the same base method: a soft, damp cloth with a mild soap and water solution.
- Avoid household cleaners, solvents, oil-based conditioners, and alcohol, they can strip the finish and, in vehicles with seat-mounted airbags, contaminate the safety system.
- Always start with a dry brush or cloth to remove abrasive grit; liquid should be a last resort, not a first step.
- For perforated leather, take extra care not to soak the material, as liquid can pool in the perforations and damage the underlying foam.
- Condition only after a thorough clean, and only with a product designed for modern, coated automotive leathers.
The Standard Method Every Manufacturer Recommends
Open the owner’s manual for nearly any modern car with leather seats, and you’ll find the same paragraph. The 2024 Honda CR-V manual specifies a solution of 90% water and 10% neutral soap. The 2023 Nissan Leaf manual instructs using a “soft and lint-free cloth dampened with lukewarm water and mild soap.” Ford’s official guidance is to “wipe the surface with a soft, damp cloth and a mild soap and water solution.”
This is a repair protocol. Audi’s Technical Service Bulletin 2004327/4 explicitly warns against solvents, wax, polish, shoe cream, and household cleaners, stating they “will likely damage the finish, affect the color, and lead to premature aging.” Mercedes-Benz’s TSB stresses that only approved products should be used, as damage from unapproved cleaners “cannot be covered by warranty.”
The universal cleaning method for automotive leather involves a soft, lint-free cloth dampened with a solution of lukewarm water and a small amount of pH-neutral, mild liquid soap. The cloth should be wrung out until it is damp, not wet, and the cleaning motion should be gentle and circular. The area must then be dried immediately with a second clean, dry cloth to prevent moisture from penetrating the leather’s protective coating.
The reason for this unanimity is the coating. Your car’s leather isn’t raw hide; it’s finished with layers of polyurethane or acrylic to make it resistant to UV light, staining, and wear. You’re cleaning that plastic coating, not the leather beneath it. A harsh chemical or abrasive pad simply scrubs that coating off.
What “Mild Soap” Actually Means (And What to Avoid)
Here’s the practical takeaway the manuals often leave vague. “Mild soap” means a pH-balanced, additive-free liquid soap. Think of something like Dr. Bronner’s Pure-Castile Soap (unscented) or a dedicated, pH-neutral leather cleaner like Lexol pH Leather Cleaner. Dish soap is usually too harsh and loaded with degreasers that can dry out the leather’s backing over time.
The list of what not to use is longer and more important. Let’s break it down with the consequences, because these aren’t hypothetical risks.
| Product Type | Why It’s a Problem | Likely Consequence |
|---|---|---|
| Household Cleaners (all-purpose, glass, etc.) | Contain solvents and alkalines that break down polyurethane coatings. | Dull, sticky, or cracked finish within weeks. |
| Alcohol & Solvents (rubbing alcohol, nail polish remover) | Dissolve the protective topcoat instantly. | Permanent blotchy discoloration, loss of UV protection. |
| Oil/Petroleum-Based Conditioners (mink oil, neatsfoot oil) | Cannot penetrate the coating; sit on top and attract dirt. | Greasy, dark patches that never fully absorb. |
| “All-in-One” Cleaner/Conditioners | Contain silicones and fillers that clean poorly and condition even worse. | A waxy, slippery film that masks dirt and prevents proper care. |
| Saddle Soap | Formulated for unfinished, vegetable-tanned leather; too alkaline for car interiors. | Dries out the hide behind the coating, leading to premature cracking. |
Ford’s manual adds a specific, critical warning for vehicles with seat-mounted airbags: “do not use chemical solvents or strong detergents. Such products could contaminate the side airbag system and affect performance of the side airbag in a crash.” That’s not scare talk, it’s a direct hazard outlined in an official vehicle interior materials guidance.
Your Step-by-Step Cleaning Protocol
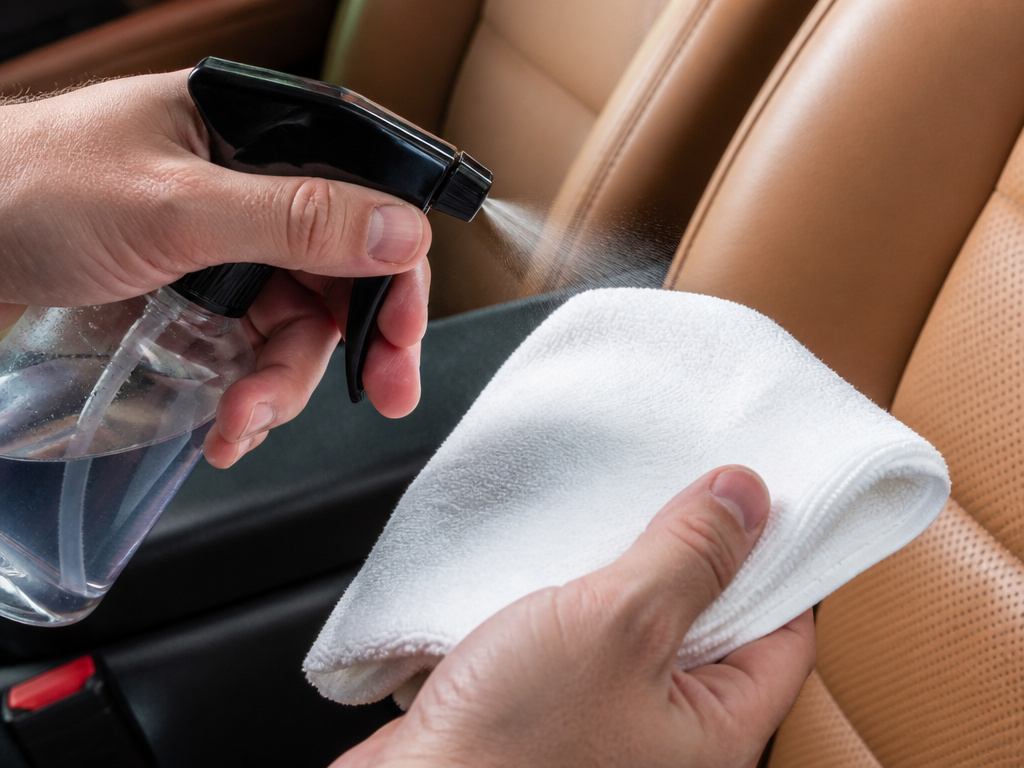
Start dry, escalate to damp, and only bring in specialized products as a last resort. This progression prevents 90% of cleaning damage.
1. Vacuum Thoroughly. Grit is your leather’s worst enemy. Use a soft brush attachment to suck all sand, crumbs, and debris from the seams and perforations. Skip this, and you’ll grind dirt into the finish during the next step.
2. Dry Brush or Wipe. For light dust, a soft-bristled horsehair brush or a dry microfiber cloth is perfect. It lifts dust without any moisture risk. For a slightly more stubborn film, a pure gum rubber eraser (the kind for artists) can gently lift scuff marks from smooth leather.
3. The Damp Cloth Pass. Dampen a clean, white microfiber cloth with distilled or filtered water. Wring it out until no drips remain. Wipe the entire seat surface using gentle, overlapping circles. You’ll be surprised how much grime this lifts alone. Dry immediately with a second dry microfiber.
4. The Soap Solution (If Needed). If water alone didn’t do it, add that mild soap. In a spray bottle, mix about 1 teaspoon of soap per cup of water. Mist the solution lightly onto your cloth, never directly onto the seat, until the cloth is damp again. Re-wipe the seat in sections, drying each section before moving on. The leather should never look wet, just lightly damp.
Common mistake: Drenching the leather with cleaner. A soaked surface pushes moisture and soap past the coating, where it can weaken the hide’s fibers and cause the coating to bubble or separate over time.
5. The Rinse Pass. This is the step everyone misses. Soap residue left on the surface is sticky and attracts dirt. After cleaning with soap, go over the seat once more with a cloth dampened only with clean water, then dry thoroughly.
6. Air Dry. Leave the windows down or doors open for 30 minutes to let any residual moisture in the seams evaporate fully before conditioning or using the car.
When You Need a Dedicated Leather Cleaner
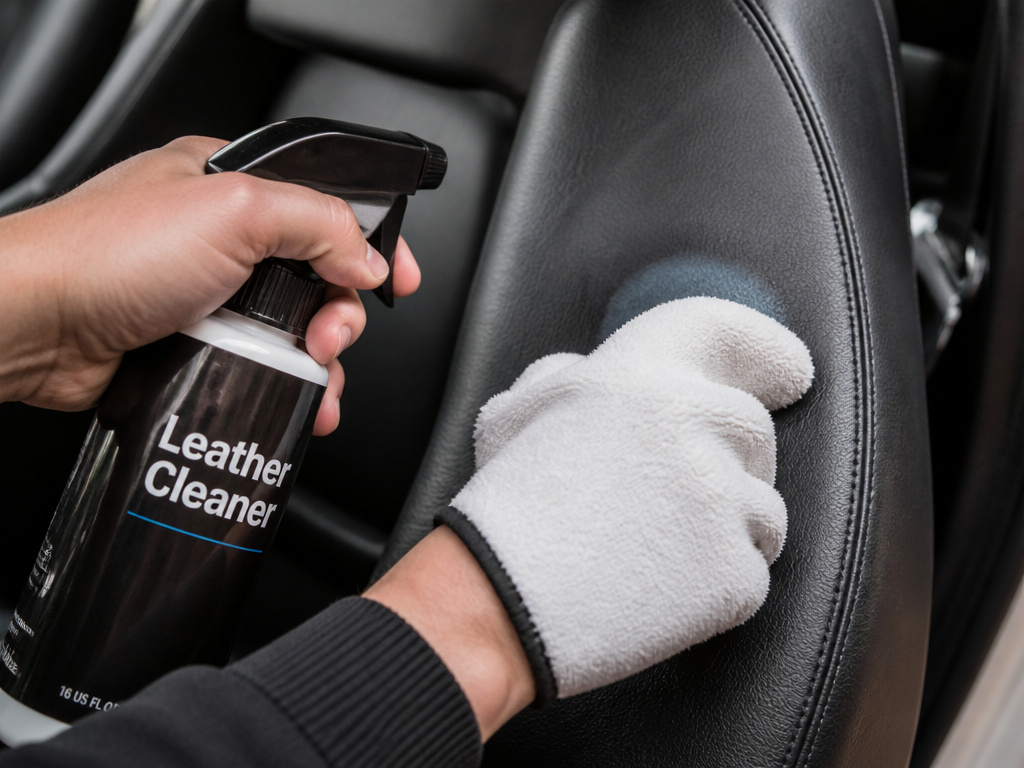
For ground-in dirt, dye transfer from jeans, or spilled soda, a water-and-soap mix might not cut it. This is where a dedicated, high-quality automotive leather cleaner earns its keep. A product like Saphir Omni’Nettoyant or Lexol pH Leather Cleaner is formulated to be strong enough to lift stains but gentle enough not to harm the coating.
The process is the same as the soap step, but you’re substituting the manufacturer’s product for your soap solution. Always, always test any new cleaner on an inconspicuous area first, like the backside of a seat bolster or under the seat. Apply a small amount, let it sit for a minute, wipe it off, and check for discoloration or texture change the next day.
For a deep dive on selecting the right one, our article on the best leather cleaner compares pH levels, ingredient lists, and real-world results on common stains.
Stain-Specific Strategies
Different stains demand different tactics. The key is to act fast and not rub, blot.
- Oil/Grease: First, blot up the excess with a paper towel. Then, sprinkle a small amount of cornstarch or baking soda on the spot to absorb the oil. Let it sit for an hour, then vacuum it away. Follow with a damp cloth pass. Avoid using water first, as it can spread the oil.
- Ink/Dye Transfer: Isopropyl alcohol can work, but it’s risky. Dab a tiny amount onto a cotton swab and touch only the ink spot, not the surrounding leather. Blot immediately with a damp cloth. For a safer approach, a dedicated stain removal product like Amodex is formulated for this.
- Beverages (Coffee, Soda): Blot, don’t rub. Flush the area gently with a cloth dampened with clean water to dilute the sugar, then clean with your mild soap solution. Let it dry completely.
If you’re facing a persistent or unknown stain, consult a dedicated guide on how to get stains out of leather car seats for a more detailed battle plan.
The Perforated Leather Exception
Perforated seats look great and improve ventilation, but they’re a cleaning liability. Mercedes-Benz’s TSB explicitly warns to “Take care not to soak the leather – particularly in perforated areas.”
Why? Liquid readily drips through those tiny holes into the foam cushion below. That foam acts like a sponge, holding moisture against the back of the leather hide. This creates a perfect environment for mold, mildew, and for the adhesive bonding the leather to the foam to fail. The result is a sagging, stained seat cover.
Cleaning Rule: When dealing with perforations, your cloth should be damp, not wet. Use even less cleaner. Consider using a soft-bristled brush (like a detailing brush) to work gently around the holes without pushing liquid in. Dry the area with compressed air or a cool fan on low setting to pull moisture back out of the holes.
To Condition or Not to Condition?
Conditioning is a separate step from cleaning, and it’s not always necessary after every clean. Modern coated leather doesn’t “drink” conditioner the way unfinished leather does. The coating blocks the oils from penetrating.
Conditioning serves two purposes for car seats: it keeps the underlying leather supple to prevent cracking from flexing, and it can replenish the plasticizers in the topcoat to keep it from drying out and becoming brittle. You should condition maybe once or twice a year, max.
When you do condition, clean first. A clean surface allows the conditioner to work evenly. Use a product made for automotive interiors. Apply a nickel-sized amount to a dry microfiber cloth and rub it into the leather in circular motions until it disappears. If a greasy film remains after 10 minutes, you’ve used too much, buff it off with a clean cloth.
For a focused look at this next step, see our step-by-step guide on how to condition leather car seats.
Frequently Asked Questions
Can I use baby wipes on leather car seats?
No. Most baby wipes contain alcohol, fragrances, and moisturizers that can leave a sticky residue on your leather’s coating. They are not formulated for polyurethane finishes and can lead to a dull, attractant surface for more dirt.
How often should I clean my leather seats?
For most daily drivers, a quick dry brush or wipe-down once a week and a full damp cleaning every 1-2 months is sufficient. If you live in a hot climate, have pets, or frequently transport kids, you might need to clean monthly to prevent sweat and oils from building up.
Will vinegar and water clean leather car seats?
It’s not recommended. While diluted vinegar is a natural cleaner, its acidity can, over repeated use, degrade the chemical bonds in the leather’s protective coating. Stick to the pH-neutral soap the manufacturers specify.
What’s the best way to clean white or light-colored leather?
The protocol is identical, but you must be more vigilant. Dirt shows faster, so dry brushing is even more important. Use distilled water to avoid mineral deposits, and consider a dedicated, color-safe leather cleaner for white interiors to prevent any chance of yellowing.
The Bottom Line
Cleaning leather car seats requires following the simple, cautious method every engineer who designed those seats wrote down. A damp cloth, a drop of mild soap, and the patience to dry as you go.
The leather will tell you what it needs. A squeak under your hand means it’s clean. A greasy feel means you used the wrong product. A dull haze means you didn’t rinse. Ignore the marketing copy for “nutrient-rich” conditioners and “deep-penetrating” cleaners. Your seats have a plastic coat.
Start with the dry brush. Move to the damp cloth. Escalate to a cleaner certified for leather by the Leather Working Group only for stains. And remember Ford’s warning about solvents near seat airbags, that alone is reason enough to ditch the strong stuff. Keep it simple, and your seats will outlast the car.
