
Learn How to Glue Leather to Leather with a Lasting Result
This post contains affiliate links. As an Amazon Associate, we earn from qualifying purchases.
This post contains affiliate links. As an Amazon Associate, we earn from qualifying purchases.
To glue leather to leather permanently, use a flexible contact cement like Barge All-Purpose Cement. Apply a thin, even coat to both surfaces, let it dry until tacky (not wet), then press together. The bond is instant and remains flexible, which is essential for any leather item that will bend.
That “tacky” stage is the whole game. Join the pieces too soon and the glue stays liquid, oozing out and weakening the bond. Wait too long and the adhesive loses its tack, resulting in no bond at all. Getting this timing right separates a repair that lasts for years from one that fails in weeks.
What follows is a breakdown of the only two adhesives you need for leatherwork, the essential prep steps, and the exact method professionals use. By the end, you’ll know why a specific type of glue matters more than the brand, and how to avoid the single most common mistake I see at every workbench.
Key Takeaways
- Contact cement is the default for permanent leather-to-leather bonds. Its flexibility after curing prevents cracks that form with brittle super glues.
- The surface must be roughed and clean. Glue adheres to fibers, not a smooth finish. A quick pass with a rougher tool increases bond strength dramatically.
- Let the cement dry to the correct tacky stage. This usually takes 10-15 minutes. The glue should feel dry to a light touch but still grab firmly when pressed.
- A double coat on both surfaces is non-optional for porous leather. The first coat soaks into the fibers; the second coat creates the bonding surface.
- Super glue (cyanoacrylate) has one job: tiny, spot repairs on non-flexing areas. It fails as a seam adhesive.
The Only Two Glues You Should Consider
Your project’s intent dictates the glue. This isn’t about brand loyalty; it’s about chemistry. One glue creates a flexible, permanent matrix. The other makes a rigid, brittle spot weld.
Contact Cement: For Permanent, Flexible Bonds
This is the workhorse. Brands like Barge All-Purpose Cement or Renia Aquilim 315 are solvent-based adhesives that dry to a flexible film. You apply them to both pieces, let the solvent evaporate until the film is tacky, then join them. The bond is immediate and powerful.
The flexibility is the key. Leather moves. A stiff glue line can’t move with it, so it cracks or delaminates. Contact cement moves. You’ll find it used in every shoe factory and upholstery shop for this reason.
A contact cement bond, done correctly, will outlast the leather around it. The failure point is never the glue line; it’s the material itself.
Water-based alternatives like Tandy Eco-Flo Leather Weld exist. They’re less toxic and easier to clean up. Their bond is strong enough for holding pieces for stitching, but for a glue-only permanent seam on a bag or belt, solvent-based cement still wins on ultimate strength and water resistance.
Cyanoacrylate (Super Glue): For Tiny, Rigid Repairs
Super glue has its place. It’s for fixing a detached corner of a wallet lining or sealing a cut on an edge. It is not for gluing seams.
Cyanoacrylate cures by reacting with moisture, forming a hard plastic bond. That plastic doesn’t flex. Under the constant bending of a leather item, that rigid spot becomes a stress concentrator. The leather will flex around it until it fatigues and tears.
If you must use it, choose a gel formula like Loctite Super Glue Ultra Gel Control for less run-off. Use a minuscule drop. Understand it’s a brittle fix.
Surface Prep: Why Roughing Beats Cleaning Alone
A clean surface is just the entry fee. The real step is giving the glue something to grip. Think of it like Velcro. A smooth, finished leather surface is like the hard plastic side. The glue just sits on top.
The part nobody mentions: Glue needs tooth. A polished leather surface has none.
A rougher tool, a small, handled block with abrasive grit, is made for this. A few light passes scuff the surface finish and raise a tiny nap of leather fibers. Now the glue has thousands of microscopic hooks to latch onto. The bond transitions from adhesive-on-surface to adhesive-in-material.
The prep ritual is simple: 1. Clean. Wipe the bonding area with a cloth dampened with rubbing alcohol to remove oils and dust. Let it dry. 2. Rough. Use the rougher lightly over the entire glue area. You’re not trying to remove material, just dull the shine. You should see a consistent, matte surface. 3. Dust. Brush away any loose particles with a dry brush. Any debris left in the glue line acts as a spacer, weakening the bond.
Skipping the roughing step is the main reason a glue job feels strong at first but peels apart under stress. The glue is only holding onto the surface coating, which itself is only weakly attached to the leather.
The Contact Cement Double-Coat Method
This is the standard for a reason. It works for every type of leather, from supple garment leather to stiff belt leather. The principle is simple: the first coat primes the fibers, the second coat does the bonding.
| Step | Action | What Happens If You Skip It |
|---|---|---|
| 1. Apply First Coat | Brush a thin, even coat onto both prepared surfaces. | The porous leather absorbs all the adhesive, leaving nothing on the surface to form a bond. The pieces won’t stick. |
| 2. Dry Until Tacky | Let dry for 10-15 minutes in good ventilation. The glue should not transfer when lightly touched. | Joining wet glue causes squeeze-out, stains, and a weak bond. Joining after full dry (non-tacky) gives you zero adhesion. |
| 3. Apply Second Coat | Apply another thin coat over the first on both pieces. | You are now bonding glue-to-glue, which is strongest. One coat only gives you a weaker glue-to-porous-leather bond. |
| 4. Dry Until Tacky (Again) | Wait another 5-10 minutes for the second coat to reach the perfect tacky stage. | This is your final bonding window. The solvents need to flash off for maximum strength. |
| 5. Join & Press | Align pieces carefully and press together firmly from one end to the other. | Air pockets get trapped, creating weak spots that will eventually separate. |
The drying time isn’t a guess. In a 70°F room with low humidity, 12 minutes is often the sweet spot. In a damp garage, it could take 20. The glue will tell you, press a scrap piece of leather to it. If it pulls away with a soft, sticky sound and slight resistance, it’s ready. If it’s silent and dry, you’ve missed the window.
I learned this timing the hard way on a bag strap repair. I was in a hurry and joined the pieces after seven minutes. The bond held for a day. The next morning, a slight tug peeled the strap open like a zipper, the glue still slightly gummy in the middle. Waiting the full cycle the second time produced a bond I couldn’t break without tearing the leather.
Tools You Actually Need
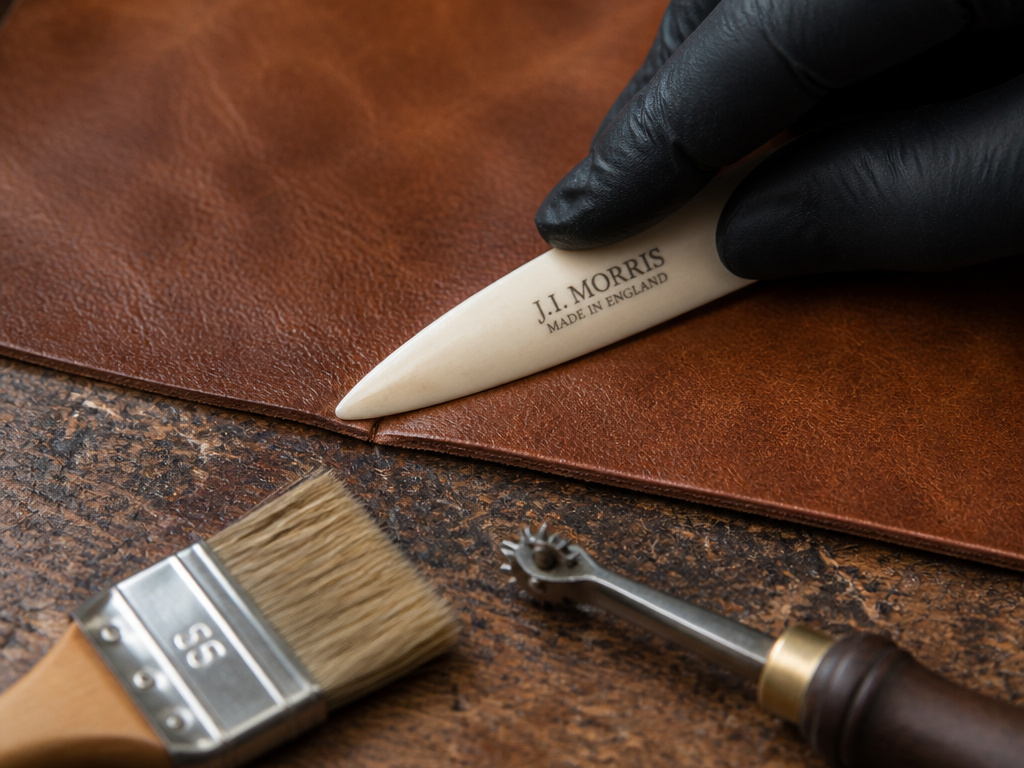 You don’t need a workshop. Four tools handle 95% of glue jobs.
- A Rougher. This is non-negotiable. The Woodpecker Leather Rougher is a common, effective model.
- A Glue Brush or Spread. A cheap, stiff-bristled brush dedicated to your contact cement. Silicon glue spreaders offer even more control for edges.
- A Bone Folder or Roller. For applying even pressure across the seam without getting glue on your hands. A J.I. Morris Bone Folder is perfect.
- Clamps or Weights. Spring clamps for edges, a flat board and heavy books for large panels. The goal is consistent, firm pressure, not a crushing force.
The roller is underrated. After you join the pieces, running a roller over the seam ensures full contact across every millimeter. Hand pressure is uneven; you’ll always have a soft spot. A few passes with a roller eliminates that.
When to Use (and Avoid) Super Glue
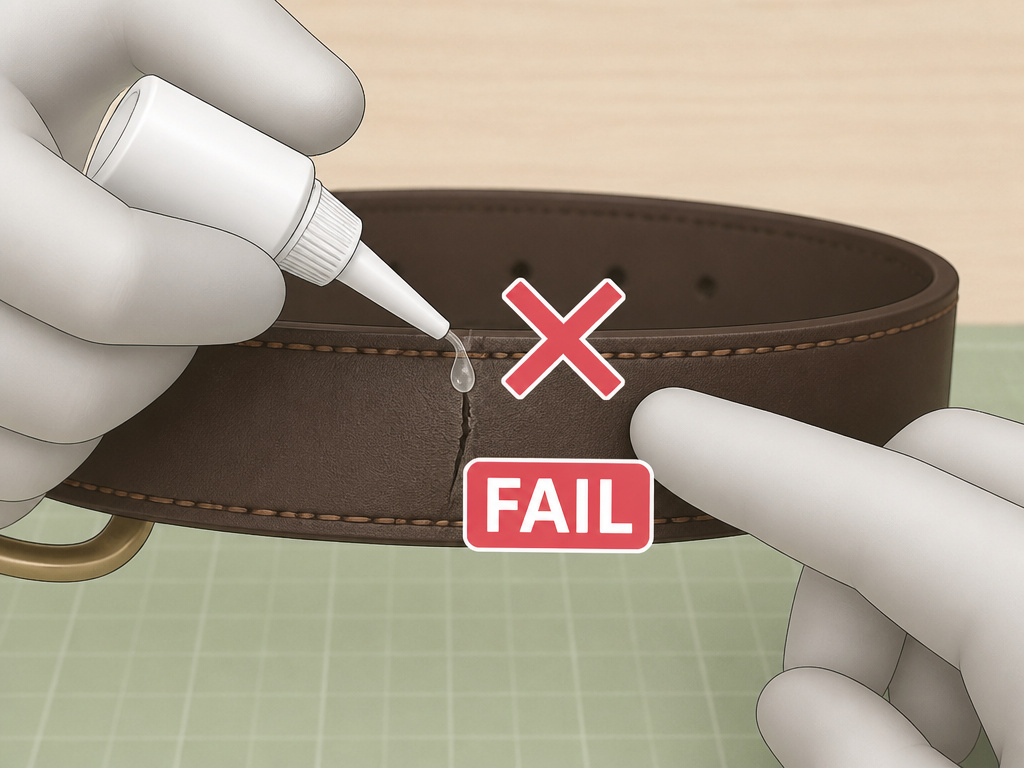 Super glue is a specialist. Its job is to create a hard, waterproof spot in an instant. That makes it useful for three specific scenarios:
- Securing Thread Ends: A tiny drop on the backside of a knot.
- Filling Tiny Cuts: On an edge, to stabilize it before sanding.
- Tack-Fixing Lining: Holding a small section of fabric lining in place before a permanent stitch.
Its failure mode is predictable. On a flexible seam, it will crack within a few dozen bends. You’ll hear a faint clicking sound first, that’s the brittle glue line starting to fracture. Soon after, the seam opens.
Where this goes sideways: Using super glue on a belt or bag strap. The constant flex finds the rigid spot and works it loose every time. The repair fails within a month of regular use.
If your project involves any bending motion, reach for the contact cement. Every time.
Troubleshooting Common Glue Problems
Even with the right steps, things can go wrong. Here’s how to diagnose the issue.
| Problem | Likely Cause | The Fix |
|---|---|---|
| Peeling after 24 hours | Surfaces not roughed, or glue applied to only one surface. | Separate, re-prep with a rougher, and apply the double-coat method. |
| Glue oozed out, staining leather | Joined while glue was still wet, or applied too thickly. | Let it cure fully, then carefully slice away the bead with a sharp blade. Prevent with thinner coats and proper drying time. |
| No bond at all—pieces don’t stick | Glue dried past the tacky stage before joining. | Apply a fresh thin coat over the existing film on both pieces and try again. |
| Bond is rigid and cracks | Used cyanoacrylate (super glue) on a flexing seam. | The bond cannot be reversed. You must cut away the glued section and redo it with contact cement. |
| Cloudy residue on surface | Solvents in contact cement reacting with certain leather finishes or dyes. | Test glue on a scrap first. If clouding occurs, switch to a water-based adhesive like Leather Weld for that project. |
The “no bond” issue is almost always a timing error. In dry, warm conditions, the window can be as short as 8 minutes. Watch the glue, not the clock.
Frequently Asked Questions
Can I use Gorilla Glue on leather?
Generally, no. Original Gorilla Glue is a polyurethane adhesive that expands as it cures. It will foam out of the seam, creating a messy, rigid bulge. While strong, it’s not flexible and is nearly impossible to clean up neatly. Leather-specific adhesives are formulated for the job.
How long should I clamp leather after gluing?
For contact cement, the bond is instant once the tacky surfaces meet. Clamping is less about bonding and more about ensuring full, even contact without air pockets. 15-30 minutes of light pressure is sufficient. Overnight clamping is unnecessary and can leave clamp marks.
What’s the best way to remove glue from leather?
It depends on the glue. For fresh contact cement, use the cement’s own solvent (like acetone or toluene) on a cotton swab, testing first on a hidden area. For cured cement or super glue, you’ll need to carefully scrape it away with a blunt plastic blade. We have a detailed guide on how to safely remove glue from leather for more specifics.
Can I glue leather if I’m going to stitch it later?
Absolutely. This is a best practice. Gluing seams before stitching, called “gluing for stitching”, holds pieces in perfect alignment and prevents shifting under the sewing machine or awl. Use a water-based adhesive like Tandy Eco-Flo Leather Weld for this; it’s plenty strong to hold and won’t gum up your needles like contact cement can.
Is there a difference between gluing smooth leather and suede?
The main difference is surface prep. Smooth leather needs to be roughed. Suede and rough-out leather already have a fibrous nap, so you can often skip the rougher. Be cautious with glue application on suede, as it can soak in and create stiff spots. Apply thinner coats.
Before You Go
The real secret isn’t a special brand. It’s matching the adhesive’s physical properties to the leather’s behavior. Contact cement flexes. Leather flexes. That’s the partnership that lasts.
If you remember one thing, let it be the feel of the tacky stage. That slight pull when you test it is the signal that the solvents have evaporated and the adhesive is ready to form its strongest bond. Rushing past that signal is the only mistake you can’t easily fix.
Your first step this week shouldn’t be a major project. Find a scrap of leather, cut it in two, and practice the double-coat method. Get a feel for the drying time in your workspace. That twenty-minute experiment will teach you more than any guide can. After that, the process is just repetition.
