
The Best Way to Clean Salt Stains Off Your Leather Boots
This post contains affiliate links. As an Amazon Associate, we earn from qualifying purchases.
This post contains affiliate links. As an Amazon Associate, we earn from qualifying purchases.
To clean salt stains off leather boots, dissolve the salt with a diluted white vinegar solution, then condition the leather. The exact vinegar-to-water ratio matters, manufacturers like Blundstone specify 1 part vinegar to 3 parts water, while other guides use a stronger 1:1 mix. The right ratio depends on your boot’s leather finish.
Let’s be clear about this. Salt doesn’t just sit on the surface. It draws moisture from the leather itself, leaving behind a crusty, white residue that etches into the finish if you scrub it dry. The vinegar works because its acetic acid breaks the salt’s bond without the harsh stripping action of most soaps.
What follows is a breakdown of the two competing vinegar recipes, why the drying phase is non-negotiable, and how to choose a conditioner that actually nourishes the hide instead of just sitting on top. I’ll also share the one drying mistake that took me a week to fix.
Key Takeaways
- Use a 1:3 vinegar-to-water ratio for finished, weatherproof leathers (like Blundstones); a 1:1 ratio is for more resilient or heavily stained leather.
- Air-dry boots at room temperature for at least 24 hours, never use direct heat.
- Condition immediately after cleaning and drying; skipping this leads to dry, cracked leather.
- Saddle soap is a last resort for stubborn stains only, not a regular cleaner.
- Over-conditioning is as harmful as under-conditioning; most boots need it every 3-6 months.
The Vinegar Solution Ratio That Actually Works
You’ll find two main recipes. Blundstone’s own care guide calls for a 1 part vinegar to 3 parts water mix. Another common guide, like the one from The Epoch Times, recommends an equal 1:1 ratio. This isn’t a minor detail.
A 1:3 vinegar solution (1 part vinegar, 3 parts water) is specified by manufacturers like Blundstone for their finished leathers. A 1:1 solution is stronger and used in general guides for cutting through heavy salt crusts.
The weaker 1:3 mix is for factory-finished leathers. These boots have a protective topcoat; a stronger acid solution could dull that finish over time. The 1:1 ratio is for tougher jobs or more resilient leathers like full-grain work boot leather that can handle the extra acidity.
Here’s a straightforward way to decide:
| Your Boot’s Leather Type | Recommended Ratio | Why It Works |
|---|---|---|
| Factory-finished / Weatherproof (e.g., Blundstone) | 1:3 Vinegar:Water | Protects the factory-applied finish while dissolving salt. |
| Full-grain, Oil-tanned, or Rugged Work Boots | 1:1 Vinegar:Water | Stronger cut for thick salt crusts on durable leather. |
| Suede or Nubuck | 1 Tbsp Vinegar:1 Cup Water | Very weak solution to prevent staining or matting the nap. |
Whichever you use, always start with a soft brush. Knock off dry dirt. Then apply the solution with a lint-free cloth, don’t pour it on. Let it sit for five minutes, then wipe with a damp water cloth.
Why “Dry First” Is Your Most Important Step
Before you even mix your vinegar, deal with wet boots. Stuff them with newspaper or paper towels. This absorbs internal moisture and helps hold the shape. Then, let them air-dry naturally.
This is the part nobody mentions. The drying phase isn’t passive. It’s when the leather’s fibers tighten back up. If you rush it with a hairdryer or place them on a radiator, you force the leather to contract too fast.
Never place close to any type of heat source! – Blundstone Canada Product Care
The leather becomes stiff and brittle. I learned this the hard way with a pair of rugged boots I was impatient with. After a “quick” dry near a heater, the leather felt like cardboard and developed fine cracks at the flex points. It took a week of careful conditioning to bring them back. Let them dry for a full 24 hours at room temperature.
Conditioning: The Step Most People Rush
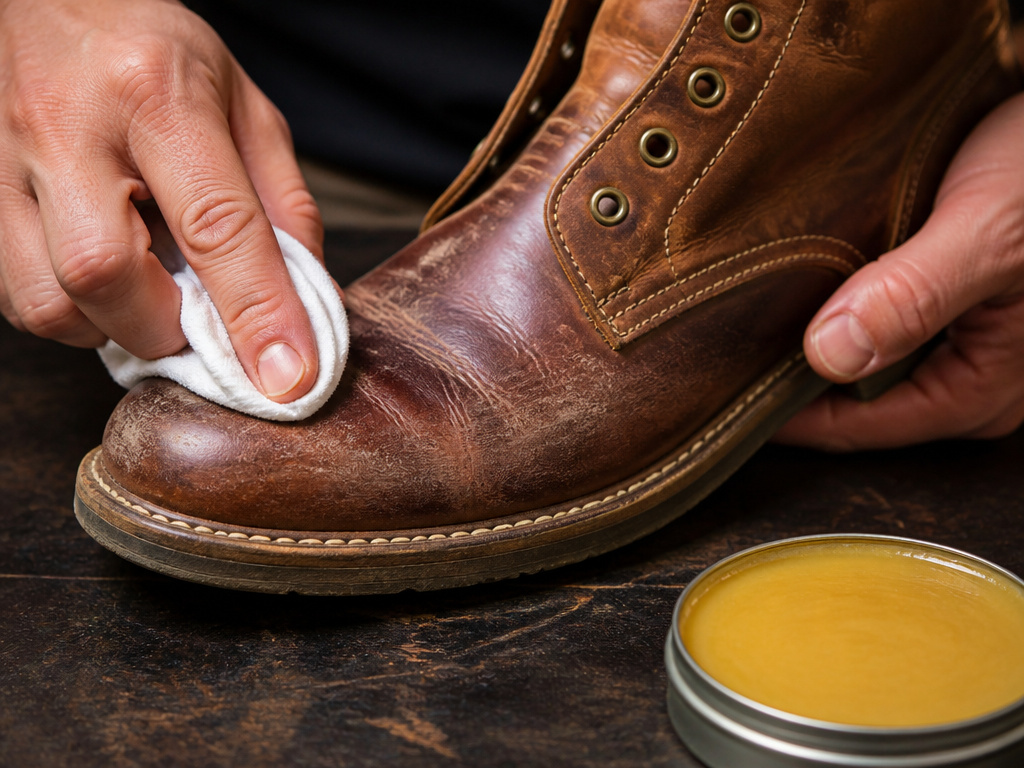 Cleaning with vinegar pulls out salt, but it also pulls out natural oils. If you stop at cleaning, you’re leaving the leather hungry. Conditioning isn’t optional.
But here’s the thing. More is not better. R.M.Williams explicitly warns, “Be careful not to over condition; leather also needs to breathe.” A thick, greasy layer sits on the surface, attracts dirt, and can clog the pores.
For a standard clean and condition boots routine, pick a product matched to your boot. Blundstone makes its own Renovating Cream. For high-quality leathers like the Horween leather on Alden Indy Boots, a product like Tanner’s Blend is a specific recommendation from Ashland Leather.
Apply a small amount to a cloth and work it in with a circular motion. One thin, even coat is all you need. Wipe off any excess after 15 minutes. The boot should look nourished, not shiny or greasy.
When to Use Saddle Soap (and When to Avoid It)
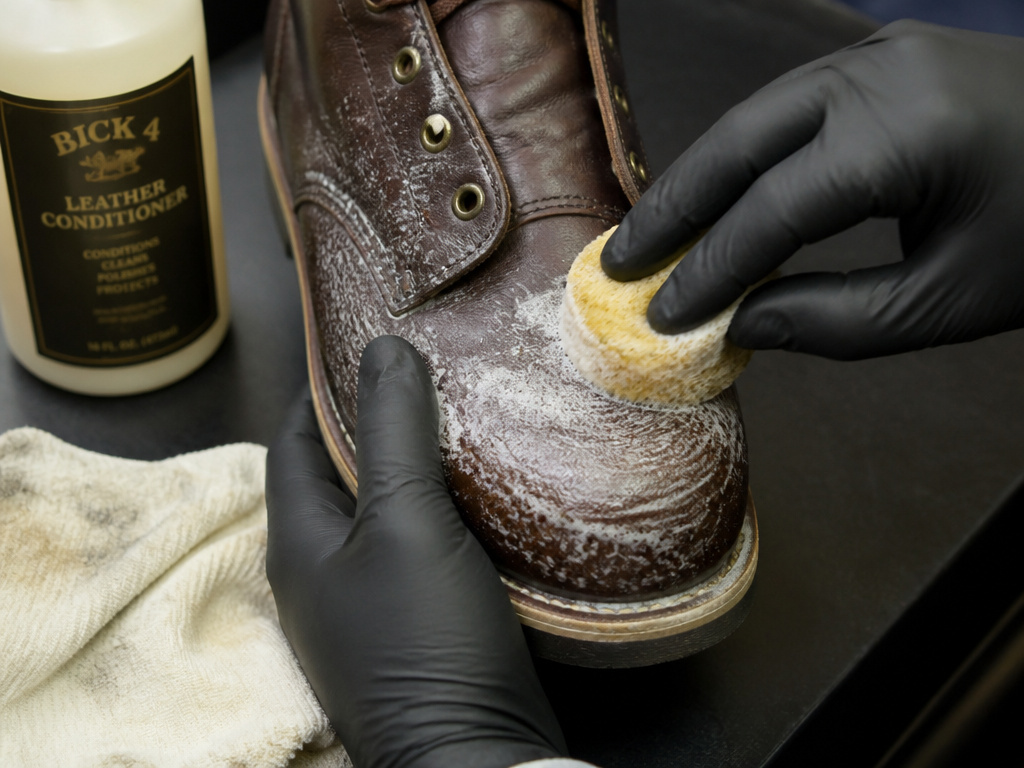 Saddle soap has a place. That place is on actual, filthy saddles. For modern leather boots, it’s a nuclear option.
Common mistake: Using saddle soap as a regular cleaner. It’s a strong degreaser that strips away far more than salt, often leaving leather parched.
Reserve it for stubborn stains that survive the vinegar treatment. The Epoch Times guide suggests Fiebing’s Yellow Saddle Soap for this job. Dampen a sponge, work a small amount into a lather, and apply only to the stained area in a circular motion. Rinse thoroughly with a damp cloth and condition immediately after. This isn’t part of your regular process for cleaning boots.
Protecting Your Boots After the Clean
Once clean and conditioned, you can think about protection. For most quality boots, the conditioner provides enough water resistance. If you’re in a harsh, salty environment, a dedicated protector can help.
A product like Apple Brand Garde Rain and Stain Water Repellent is named in guides for this purpose. Spray it evenly over the clean, dry boot from about 6 inches away. Let it dry completely.
Remember, these protectors are barriers. They can slightly reduce breathability. For most people, a consistent care for leather boots routine with proper conditioning offers the best balance of protection and leather health.
Frequently Asked Questions
Can I use apple cider vinegar instead of white vinegar?
Stick with distilled white vinegar. Apple cider vinegar has color and sugars that can transfer to the leather, potentially causing stains. You want the clear acetic acid action without extra compounds.
How often should I condition my boots to prevent salt damage?
Condition every 3-6 months with regular wear. If you’re battling salt slush weekly in winter, condition at the season’s start and end. Over-conditioning creates a greasy build-up that attracts more grime.
Will this method work on suede boots?
The principle is similar, but the execution changes drastically. Use a much weaker solution (1 tablespoon vinegar per cup of water). Dab gently, don’t rub. Then use a suede brush to restore the nap. Never use standard leather conditioner on suede.
What if the salt stain is old and set in?
Old stains may need multiple treatments. Go through the vinegar process, dry, and condition. Wait a day, then reassess. If a faint outline remains, you can carefully try the saddle soap method on just that spot, followed by a heavy conditioning session.
Can I use olive oil to condition my boots?
Some guides suggest olive oil as a final buff. Practically speaking, it’s a temporary fix. Food-based oils can go rancid over time. For long-term leather boot care, use a dedicated leather conditioner formulated to nourish without spoiling.
The Bottom Line
Cleaning salt off leather boots breaks down to a simple equation: dissolve, dry, nourish. The variable is the vinegar ratio, 1:3 for protected finishes, 1:1 for raw toughness. The constant is patience during the 24-hour air dry.
The goal isn’t a sterile boot. It’s a maintained one. A little salt residue from last winter won’t ruin them, but letting it build up season after season will. Clean them once a season, condition them twice a year, and they’ll handle the salt for years.
So, mix your solution based on the leather, not the blog post. And let them dry slowly. Every time.
