
How to Waterproof Leather Gloves: The Complete Guide
This post contains affiliate links. As an Amazon Associate, we earn from qualifying purchases.
To waterproof leather gloves, you need a product designed for leather, like Nikwax Waterproofing Wax for Leather or Sno-Seal beeswax, and the right application method. The goal is absorption, not a surface coat. For wax-based products, warming the leather to about 105°F (40.6°C) helps it drink the treatment in, creating a durable barrier with a melt point of 155°F (68.3°C) that won’t wash out.
Common wisdom says to slather on a conditioner and call it a day. Common wisdom is often wrong. Waterproofing isn’t about adding a greasy layer; it’s about getting the right substance into the leather’s top fibers where it can repel water without clogging the pores. Get this wrong, and you might as well not bother.
What follows is a breakdown of the two proven product types, the essential prep work, and the specific steps that differ for a paste versus a cream. We’ll also cover the critical exceptions, like what to do if your gloves have heating elements or are made of suede, and how often you actually need to re-treat them.
Key Takeaways
- Wax-based products (like Sno-Seal) require heat for proper absorption. The leather needs to be warm (around 105°F) so the wax melts into the fibers, not sits on top.
- Never use external heat on gloves with built-in heating systems. For brands like Chaval, the internal wires can be damaged, creating a safety hazard.
- Clean your gloves first, every time. Dirt and oils block the waterproofing agent from penetrating the leather.
- Reapplication depends on use. For frequent wet-weather wear, treat every 4-6 weeks. For occasional use, every 2-3 months is sufficient.
- Test on a hidden area first, especially with light-colored or suede leather. Some products cause permanent darkening.
The Core Principle: It’s About Absorption, Not Coating
Leather is a network of collagen fibers. Think of it like a dense sponge. Waterproofing works by filling the very top of that sponge with a substance that repels water, while leaving the deeper structure open to breathe.
If you just coat the surface with a heavy silicone spray, you create a plastic-like film. Water beads off initially, but the leather underneath can’t breathe. Trapped sweat and moisture lead to stiffness and rot from the inside out. A proper waterproofing leather treatment penetrates.
The goal is to get the waterproofing agent into the superficial fibers of the leather, creating a durable water-repellent (DWR) barrier that allows vapor from your hand to escape while blocking liquid water from entering.
This is why application method matters as much as the product. Rubbing a cream into room-temperature leather might condition it, but for true waterproofing with a wax, the leather needs to be warm and receptive.
Choosing Your Weapon: Wax vs. Cream
You have two main paths, and your choice dictates your entire process. This isn’t about brand loyalty; it’s about matching the chemistry to your gloves and your patience level.
Beeswax-Based Pastes (Sno-Seal)
These are the old-school, expedition-grade options. They use beeswax and/or carnauba wax suspended in a solvent. The magic happens with heat. Applied to warm leather, the solvent carries the wax into the fibers. Once the solvent evaporates, the wax resets with a high melt point, 155°F (68.3°C) for Sno-Seal. This means it won’t melt or migrate during normal use, offering long-lasting protection. * Best for: Heavy-duty work gloves, ski gloves, boots, any smooth leather that sees harsh, wet conditions. * Feels like: A slightly stiffer, more robust finish. It adds a layer of abrasion resistance. * Downside: Requires the most careful application with heat. Over-application leads to a sticky, gummy mess.
Water-Based Creams & Sprays (Nikwax)
Products like Nikwax Waterproofing Wax for Leather (a cream) or Nikwax Glove Proof (a sponge-on liquid) are water-based and easier to use. You apply them to clean, damp leather. The water helps carry the active ingredients into the fibers. They’re often PFAS-free and non-flammable. * Best for: Everyday leather gloves, dress gloves, or any glove where you want to maintain maximum softness and suppleness. They’re also the only safe choice for waterproofing leather jackets or other garments where stiffening is undesirable. * Feels like: Almost nothing. The leather retains its original hand feel. * Downside: Protection may not be as durable under extreme abrasion. Reapplication is needed more frequently.
| Product Type | Key Ingredient | Application State | Best For | Durability |
|---|---|---|---|---|
| Beeswax Paste | Beeswax/Carnauba | Warm, dry leather | Heavy-duty, high-abrasion use | High (weeks to months) |
| Water-Based Cream | Synthetic polymers | Damp leather | Everyday wear, soft leather | Moderate (weeks) |
| Sponge-On Proofer | Fluorocarbon-free | Wet, clean leather | Technical fabrics & leather combos | Moderate (weeks) |
The Non-Negotiable First Step: Cleaning
Skipping cleaning is the single biggest reason waterproofing fails. Dirt, salt, and skin oils act like a raincoat for your raincoat, they seal the surface, preventing any treatment from getting in.
Your step-by-step guide to cleaning leather gloves is the mandatory pre-game. Use a dedicated leather cleaner or a damp cloth with a drop of mild soap. For ingrained grime, a soft brush helps. Let the gloves dry completely at room temperature before moving on. Never use a hair dryer or oven, forced heat at this stage can bake in stains and crack the leather.
Step-by-Step: The Reliable Method
Now for the main event. The steps branch depending on your product choice. Follow one column all the way through.
I learned the importance of method the hard way with a pair of Kinco work gloves. I slathered on a wax paste cold, buffed it to a shine, and thought I was set. The first day in wet snow, my hands were soaked in an hour. The wax had just glazed the surface and flaked off. Rewarming them and working the wax in properly fixed it, but it was a frustrating lesson in patience.
For Beeswax Pastes (Sno-Seal)
- Warm the Leather: This is the critical step. Aim for a surface temperature of about 105°F (40.6°C). You can use a hairdryer on low, holding it 6-8 inches away and constantly moving. Never use an oven or place gloves near an open flame. The goal is warmth you can comfortably touch, not cooking heat.
- Apply a Thin Coat: Using your fingers, rub a very small amount of paste into the leather. Focus on seams and high-wear areas like palms and fingertips. A little goes a very long way.
- Melt and Absorb: As you rub, the warmth from the leather and your friction will melt the wax. Keep working it in until the leather looks dull, not shiny. A shiny spot means there’s excess wax sitting on top.
- Repeat if Necessary: If the leather drinks up the first coat quickly, warm it slightly again and apply a second thin coat to any remaining dull areas.
- Cool and Set: Let the gloves cool and cure at room temperature for at least 24 hours before wearing. This allows the solvent to fully evaporate and the wax to set within the fibers.
For Water-Based Creams (Nikwax)
- Dampen the Leather: After cleaning, the leather should be slightly damp to the touch. If it’s fully dry, lightly mist it with water.
- Apply the Cream: Put a “Hershey’s Kiss” sized amount (per Nikwax) into your palm or directly onto the glove. Rub it in thoroughly like hand lotion, covering every inch and pressing firmly into seams.
- Let it Penetrate: No heat needed. Just let the gloves sit at room temperature for 10-15 minutes as the water carrier evaporates.
- Remove Excess: After the wait time, wipe off any remaining, unabsorbed product with a clean, damp cloth. This prevents a sticky residue.
- Dry Naturally: Allow the gloves to air dry completely, away from direct heat or sunlight. This may take several hours.
Where This Goes Sideways: Critical Warnings & Edge Cases
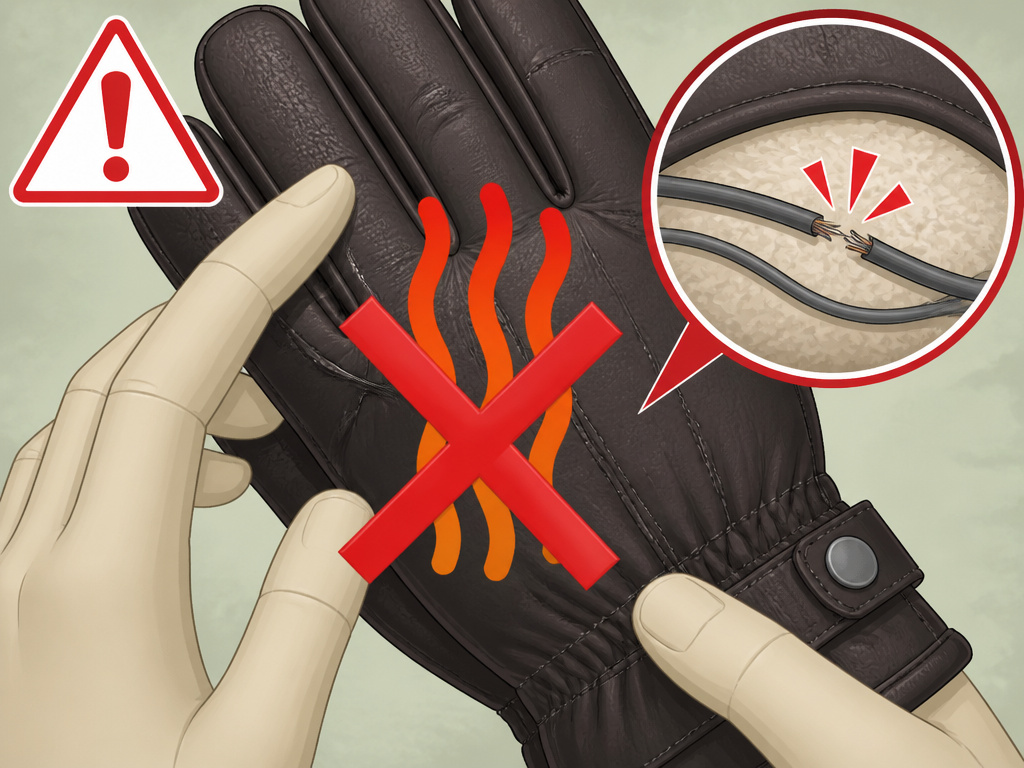
Critical warning: Never apply external heat to gloves with integrated heating systems, like Chaval gloves. The manufacturer explicitly states this can permanently damage the heating wires and create a fire or shock hazard. For these, only use room-temperature, water-based products.
That’s the big one. Here are the other pitfalls that break the standard rules:
- Suede and Nubuck: Their textured surface is fundamentally different. Most products for smooth leather will ruin them. You must use a product specifically labeled for suede, like Nikwax Nubuck & Suede Proof.
- Light-Colored Leather: Both waxes and some creams can darken leather permanently. Always test on an inconspicuous area like the inside wrist cuff and let it dry fully before treating the whole glove.
- The “Already Waterproofed” Myth: Some gloves, like Chaval’s, come with factory waterproofing. You can still add treatment for extra protection, but it’s not required. Check your manufacturer’s leather glove care guide first.
- Humid Climates: If you live somewhere muggy, drying can take forever. Use a small fan on a low setting to circulate air gently. Avoid the temptation to use a heat source.
How Often Should You Re-Waterproof?
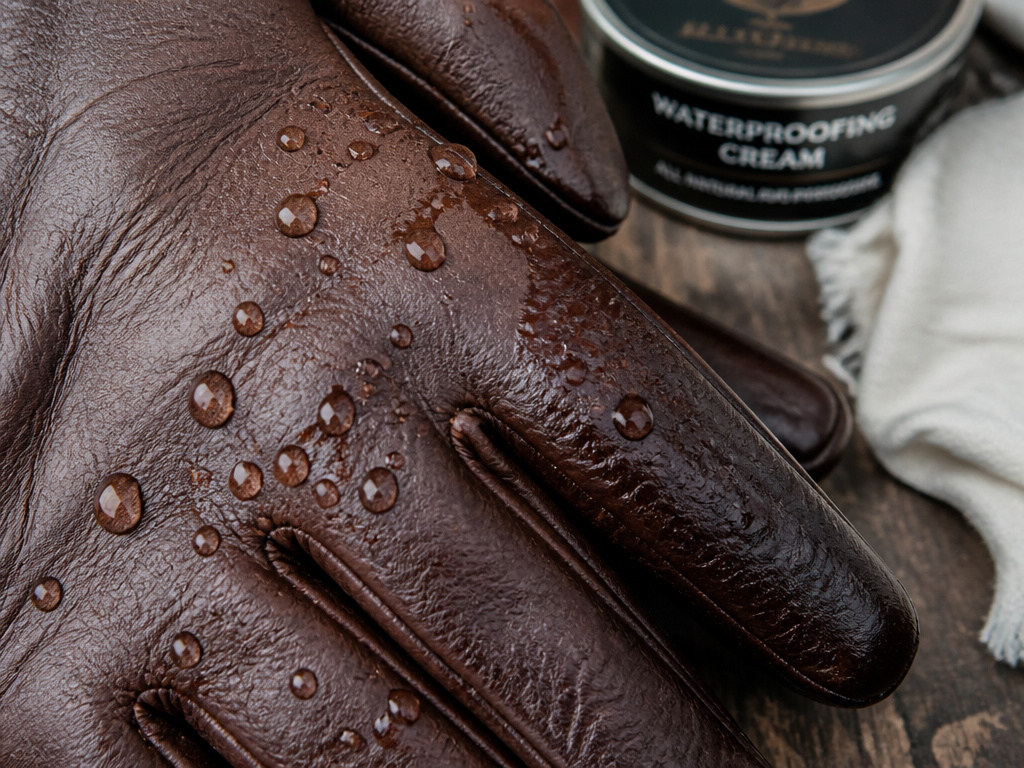 This isn’t a set schedule. It depends on how much you sweat, how often you get caught in the rain, and the product you used.
A wax-based treatment on ski gloves used every weekend might last a full season. The same waterproofing techniques for leather boots might need a refresh mid-winter. For a water-based cream on everyday dress gloves, once a month during wet seasons is a safe bet.
Watch for the tell. When water stops beading up and starts soaking into the leather in under a minute, it’s time. A rule of thumb from professional refinishers is every four to six weeks for heavy use, and every two to three months for occasional use.
Frequently Asked Questions
Can I use mink oil or saddle soap to waterproof gloves?
Mink oil is a conditioner, not a dedicated waterproofer. It will darken leather significantly and can soften it too much for structured gloves. Saddle soap is a cleaner that can strip natural oils. I don’t recommend either for modern glove waterproofing. Stick to products designed for the job.
Will waterproofing make my stiff gloves softer?
Some conditioning can occur, but that’s not the primary goal. If your gloves are stiff, you need a dedicated conditioner or methods for softening leather gloves first. Waterproofing a stiff glove will lock in that stiffness.
Is there a difference between waterproofing leather gloves and boots?
The core principle is identical: clean, apply the right product, let it absorb. The main difference is scale and abrasion. Boots typically need heavier, wax-based products because they face more direct scuffing and immersion. The process for waterproof leather shoes for city wear is closer to the glove method.
Can I use a waterproofing spray instead?
You can, but choose carefully. Many aerosol sprays are silicone-based and will clog leather pores. Look for breathable, non-aerosol leather waterproofing sprays designed for the material. Sponge-on applications, like Nikwax Glove Proof, offer more control and less waste.
The Bottom Line
Waterproofing leather gloves is a simple insurance policy. The work is in the first 30 minutes, cleaning meticulously and applying the product with the right method. Forget the heat on wax, and you get a shiny, useless coating. Skip cleaning, and you’re just waterproofing dirt.
For most smooth leather gloves, a tube of Nikwax Waterproofing Wax for Leather is the easiest place to start. For work or ski gloves that take a beating, a tin of Sno-Seal and a hairdryer are worth the extra step. And if your gloves have wires running through them, your hands provide all the heat they should ever get.
One final check: if you treated your gloves and water still soaks in, the leather wasn’t ready. It was either dirty, too cold, or too dry. Fix that, apply again, and you’ll have dry hands for seasons.
