
How to Apply Leather Conditioner Without Streaks or Damage
This post contains affiliate links. As an Amazon Associate, we earn from qualifying purchases.
This post contains affiliate links. As an Amazon Associate, we earn from qualifying purchases.
Applying leather conditioner correctly means matching the product to the leather type, applying it to a clean surface in a thin, even layer, and allowing it to fully absorb before buffing off any excess. The goal is to replace lost oils and lubricants without over-softening the material or leaving a sticky residue.
That absorption step is where most guides are vague. A conditioner doesn’t just sit on the surface; it needs to migrate between the leather’s fibers to replenish the tanning agents and lubricants that water and sun leach out. If you buff too soon, you wipe away the nourishing oils. Wait too long, and the excess forms a gummed-up film that attracts dirt.
What follows is the layer-by-layer method I use in my shop. This guide explains how to clean leather correctly (the step everyone rushes), how to pick a conditioner that won’t darken your light-colored jacket, the exact motions that prevent over-application, and the drying times that change based on your climate.
Key Takeaways
- Clean first, always. Conditioner seals in whatever is on the surface; applying it over dirt or old polish creates a permanent, grimy layer.
- Match the conditioner to the leather’s needs. Water-based conditioners like Nikwax Conditioner for Leather™ are for waterproof gear; oil-based balms like Obenauf’s are for reviving dry, vegetable-tanned work leathers.
- Thin, even layers beat one thick coat. Leather can only absorb so much at once. Multiple light applications, spaced a day apart, penetrate deeper than a single gloopy one. Buffing is essential.** Any excess conditioner left on the surface will turn sticky, attract dust, and stiffen as it oxidizes. Buff until the cloth slides smoothly.
- Test on a hidden seam first. This is your only defense against unexpected darkening or adverse reactions, especially on aniline-dyed or light-colored leathers.
Why the Right Conditioner Matters (It’s Not Just Marketing)
Leather isn’t a sponge. It’s a network of collagen fibers stabilized by tanning agents and lubricated by natural oils. When you apply conditioner, you’re not just “moisturizing” – you’re attempting to replace specific chemicals that have been depleted. Use the wrong one, and you can actively harm the material.
I learned this the hard way with a vegetable-tanned leather belt blank. I assumed all veg-tan was stiff, so I slathered on a heavy, wax-based conditioner meant for waterproofing boots. The leather darkened as expected, but it also became oddly gummy on the surface while staying stiff underneath. The conditioner had sealed the pores before the nourishing oils could penetrate. The lesson wasn’t that the conditioner was bad, but that it was mismatched. A lighter, oil-based product like Obenauf’s Leather Oil, applied in two thin coats a day apart, would have sunk in and softened the fibers from the inside.
This is why manufacturers like Nikwax are so specific. Their water-based Conditioner for Leather™ is designed for Gore-Tex boots because it won’t clog the breathable membrane, and it’s formulated to stop absorbing once the leather is saturated to prevent over-softening. Conversely, the Polaris INDIAN MOTORCYCLE Leather Care Dressing includes UV blockers because motorcycle seats face relentless sun exposure.
Common mistake: Using a universal “leather conditioner” on every item. A product that’s perfect for restoring a dried-out work boot can oversoften and distort a delicate leather glove or darken a light handbag beyond recognition.
The 5-Step Process for Applying Leather Conditioner
This isn’t a loose guideline. The order matters because each step prepares the leather for the next. Skip one, and you compromise the result.
Apply leather conditioner to a clean, dry surface using a soft, lint-free cloth. Use circular motions to work a thin, even layer over the entire piece, paying extra attention to dry, stiff, or high-wear areas. Allow the conditioner to absorb fully, anywhere from 20 minutes to 2 hours depending on the product and leather type, before buffing off any remaining residue with a fresh, dry cloth to a soft sheen.
Step 1: Clean the Leather Thoroughly
Conditioner seals in everything. Apply it over dust, skin oils, or old polish, and you’re preserving that grime forever. For most items, a slightly damp microfiber cloth wiped firmly across the grain is sufficient. For deeper grime, use a dedicated leather cleaner like Bickmore Bick 1. For a jacket that sees daily wear, a thorough clean with a dedicated jacket cleaner conditioner is a worthwhile investment once a year. Let the leather dry completely before moving on. This can take a few hours in a well-ventilated room.
Step 2: Pick Your Application Tool
Your hands work for oil-based balms; the warmth helps melt the product and your skin absorbs the excess. For creams, polishes, and water-based products, a clean, lint-free cloth is mandatory. I use white microfiber towels, they’re cheap, reusable, and you can see when they’re dirty. For intricate conditioner shoes, a soft horsehair brush can help work conditioner into welt seams.
Step 3: Apply in Thin, Even Layers
Squeeze a dime-sized amount onto your cloth, not directly onto the leather. This gives you control. Rub the cloth in firm, overlapping circles. You’re not waxing a car; you’re feeding the leather. If the surface looks wet or glossy immediately, you’ve used too much. Wipe some away.
Pressure matters. Baxter’s guide explicitly warns “Do not rub aggressively!” You’re not sanding. Gentle, consistent pressure lets the conditioner soak in without stressing the fibers.
Step 4: Let It Absorb (This Is the Waiting Game)
This is the most ignored step. The conditioner needs time to migrate. A water-based product like Nikwax might absorb in 20-30 minutes. A heavy oil or wax blend on thick automotive seats might need 1-2 hours in a warm room. You’ll know it’s ready when the once-glossy surface turns to a soft, matte finish. If it’s still tacky after two hours, you applied too much.
Step 5: Buff Off the Excess
Take a fresh, dry microfiber cloth. Buff the entire surface with quick, light strokes. You’re not trying to generate heat, just to remove any conditioner that didn’t absorb. The cloth should eventually slide smoothly. If it drags or you see streaks, keep buffing. Any leftover residue will attract dirt and create a sticky spot.
Water-Based vs. Oil-Based: A Side-by-Side Breakdown
Your choice here dictates your entire process, drying time, and the final feel of the leather.
| Factor | Water-Based Conditioner (e.g., Nikwax) | Oil-Based Conditioner/Balm (e.g., Obenauf’s) |
|---|---|---|
| Best For | Waterproof leather (Gore-Tex boots), items that must not darken, delicate leathers. | Dry, stiff, vegetable-tanned leather (belts, holsters, work boots), restoration projects. |
| Feel After Application | Little to no change in hand-feel; leather stays “dry” and grippy. | Leather feels noticeably softer, richer, and slightly warmer. |
| Drying/Absorbing Time | Faster (20-45 minutes). Water evaporates, leaving active ingredients. | Slower (1-2 hours). Oils need more time to penetrate deeply. |
| Risk of Over-Application | Low. Stops absorbing when leather is saturated. | High. Easy to apply too much, leading to greasy, permanently darkened leather. |
| Primary Action | Replenishes tanning agents/lubricants lost to water exposure. | Replaces natural oils lost to age and dryness, adds water resistance. |
The verdict: For your general leather conditioner needs on bags, jackets, and conditioner furniture, a hybrid cream like Bickmore Bick 4 is a safe, effective middle ground. It’s oil-based enough to nourish but formulated to minimize darkening.
The Specifics: Drying Times, Buffing, and Reapplication
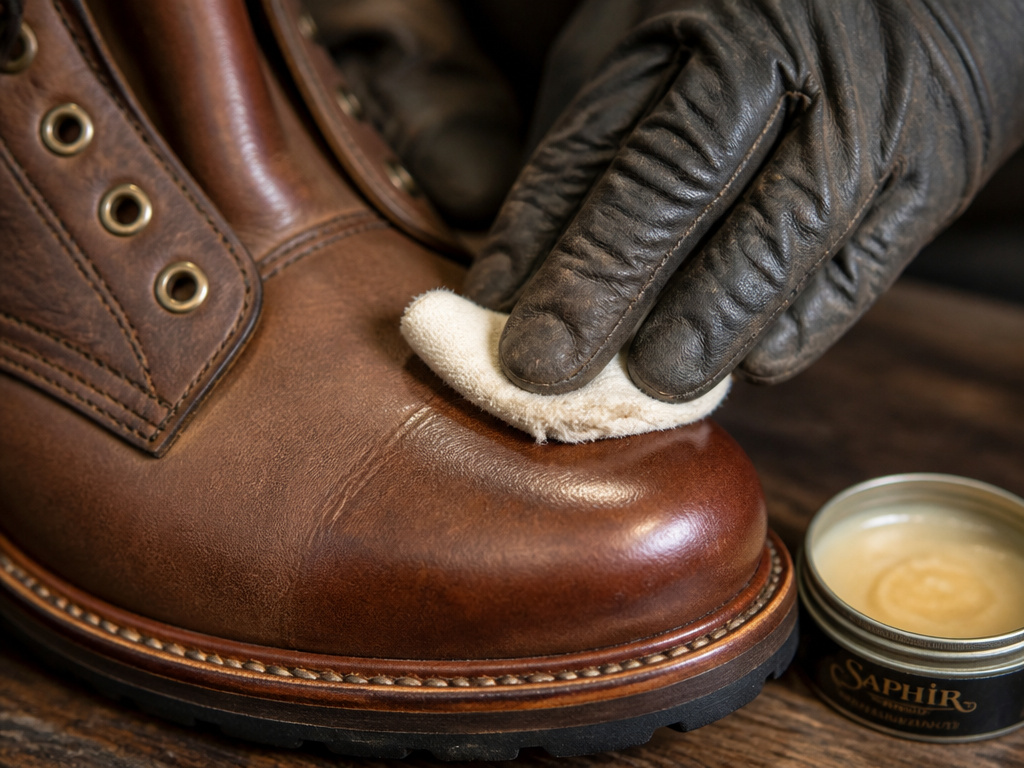
Don’t guess. Different products and leathers have different clocks.
- Fast (20-45 minutes): Water-based conditioners, light creams on thin garment leather.
- Medium (1-2 hours): Most conditioning creams (Bick 4, Saphir) on standard leather.
- Slow (2+ hours): Heavy oils/waxes (Obenauf’s LP, Huberd’s) on thick, dry leather like a leather seat conditioner or work boot.
Buffing is done when the cloth slides without resistance. If you feel a “tacky” drag, the conditioner is still wet. If you see a white haze (common with wax-heavy products), you haven’t buffed firmly enough.
How often should you recondition? The 4-6 month rule is a commodity starting point. Your leather will tell you. Fold a jacket sleeve or bend a shoe. If the leather creases stiffly and shows a whitish, dry line in the crease, it’s thirsty. A supple, smooth bend means it’s fine. High-wear items like conditioner cowboy boots or conditioner jackets might need attention every 3 months with heavy use.
When Not to Condition: Suede, Aniline, and Light Leathers
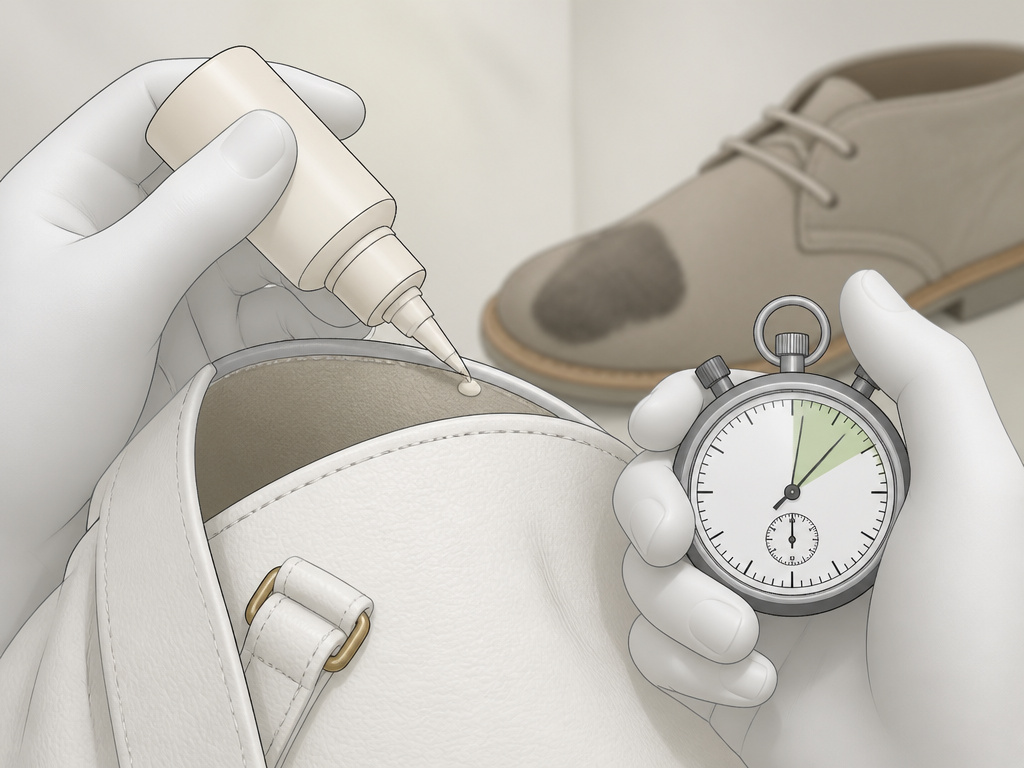
The standard procedure breaks here. Applying a standard conditioner to these materials is a one-way trip to ruin.
- Suede & Nubuck: These have a raised nap. A liquid conditioner will mat that nap down into hard, discolored spots. Use a dedicated suede conditioner spray or powder.
- Aniline Leather: This is dyed but has no protective topcoat. It’s incredibly absorbent. Even a light conditioner can cause dramatic, uneven darkening. Test on an inside seam with a tiny amount and wait 24 hours.
- Light/Colored Leather: Nikwax and others warn directly: it may darken. Always test. If you must condition a white bag, use a product specifically marketed as non-darkening.
Where this goes sideways: Spot-treating a stain on suede with regular conditioner. You’ll fix the stain by creating a larger, darker, stiffened patch that cannot be repaired.
Frequently Asked Questions
Can you over-condition leather?
Absolutely. Leather can only absorb so much. Over-conditioning saturates the fibers, making them weak and prone to stretching. It also leaves a greasy, sticky surface that attracts dirt and never fully dries. If your item feels heavy, looks splotchy, or attracts lint, you’ve likely overdone it.
Do you buff leather conditioner?
Yes, every time. Buffing removes the excess conditioner that didn’t absorb. If you skip this, that excess oxidizes into a stiff, sticky film. Use a clean, dry cloth and buff until the surface is smooth and the cloth slides easily.
How long does leather conditioner take to dry?
It’s less about “drying” and more about “absorbing.” Thin, water-based products can be ready to buff in 20 minutes. Thick oils and waxes on dense leather may need 2 hours or more. The leather will turn from glossy to matte when it’s ready.
Can I use leather conditioner on suede?
No. Standard leather conditioners are liquids or creams that will ruin the raised nap of suede and nubuck, creating permanent stains and stiff spots. Only use products specifically designed for suede, which are usually dry sprays or powders.
Will leather conditioner darken my leather?
It depends. Oil-based conditioners (mink oil, neatsfoot oil) will almost always darken leather, sometimes permanently. Modern synthetic and water-based conditioners (like Bick 4) are formulated to minimize darkening. Always test on a hidden area first.
Before You Go
Conditioning leather isn’t a chore you schedule; it’s maintenance you perform when the material asks for it. The fold test doesn’t lie. If the leather bends stiffly and shows a dry, pale crease, it’s time.
For one answer that covers most household items, from a favorite bag to a sofa, keep Bickmore Bick 4 on hand. It’s the benchmark for a reason: effective nourishment with minimal risk of darkening. For your heavy-duty, vegetable-tanned gear that you want to last decades, reach for a pure oil like Obenauf’s, but apply it with the patience of a roux, thin layers, low heat, and time between coats. That’s how you build a foundation that lasts.
